In this Warmaster Revolution Battle Report I pit my High Elves against a combined force of Vampire Counts and Tomb Kings. Can the two ancient undead enemies put aside their enmity to defeat the High Elves? Read on to find out!
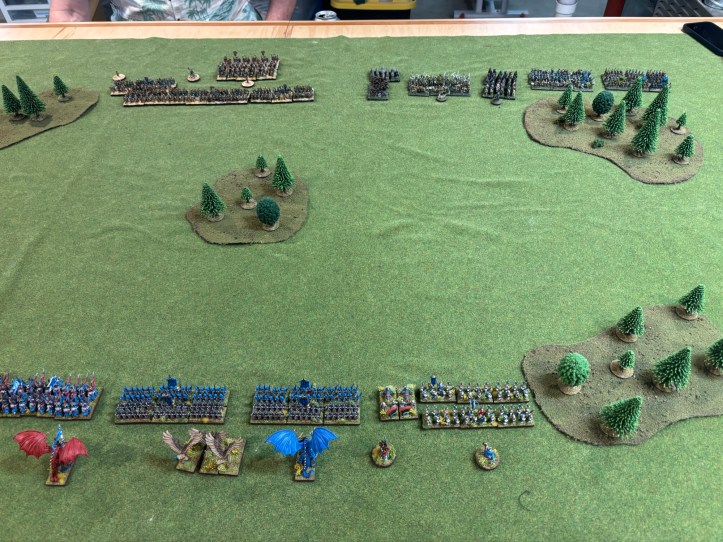
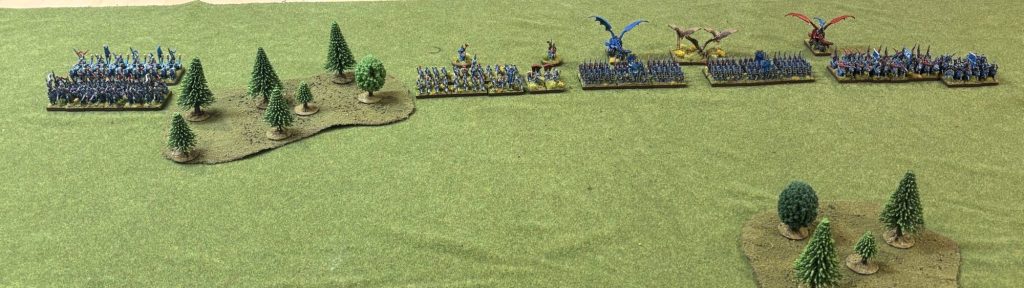
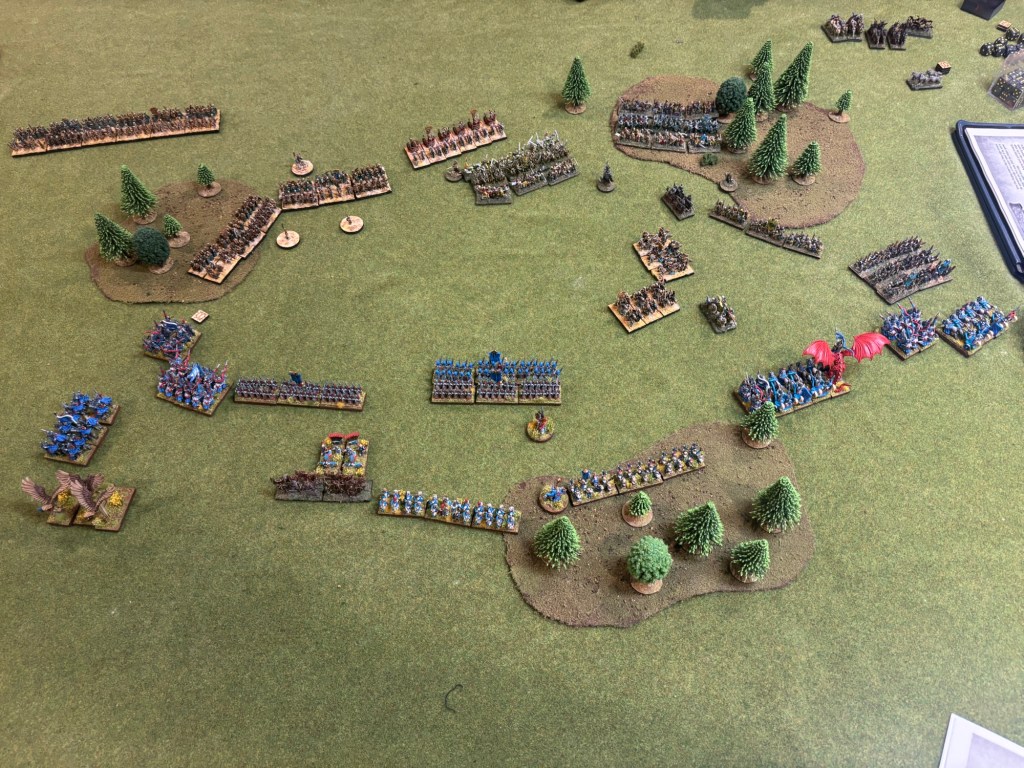
The enemies line to fight!
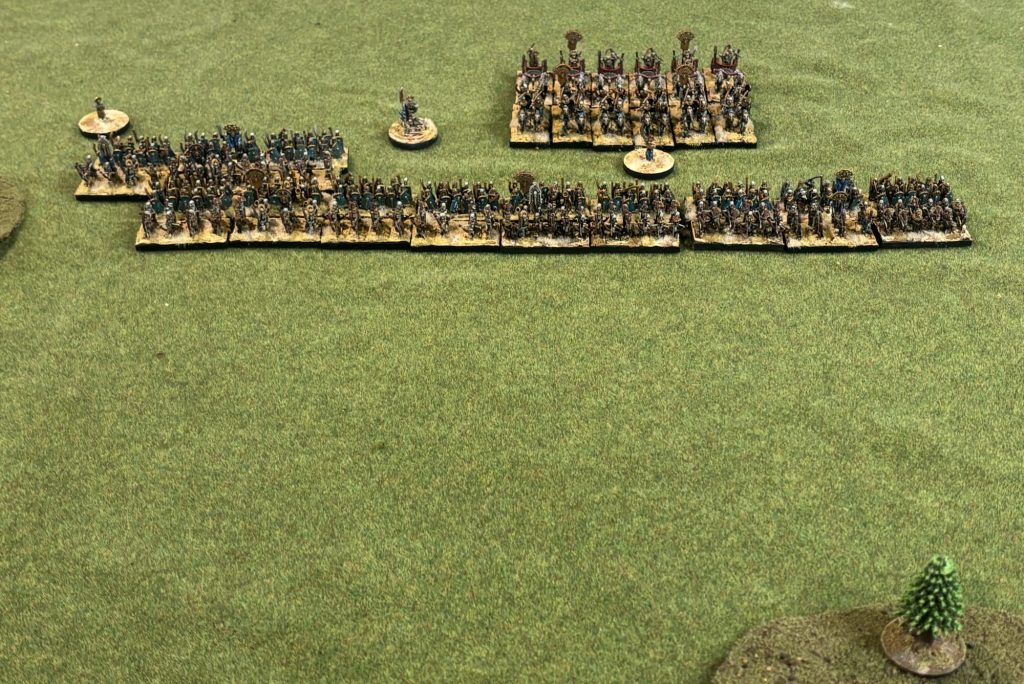
The Tomb King wing of the Undead army.
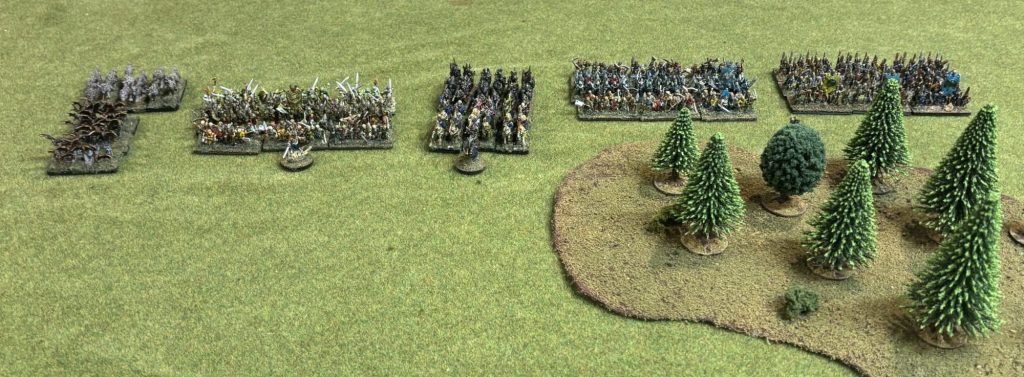
The Vampire Count wing of the Undead Army.
The High Elves aligned for battle! Note: The red dragon is mounted by a mighty High Elf Hero, while the blue dragon is the High Elf Dragon Rider.
In turn one the High Elves advanced across the middle of the board while throwing out a fast moving pair of cavalry and chariots down the right flank. On the left flank a brigade of two units of Silver Helms and a unit of Reaver Knights refused the flank to avoid what I thought were Tomb King War Machines. Well, they were War Machines, but not the type I thought. I thought I was hiding from Screaming Skull Catapults but they were really chariots. I was confused by the banners! Ughhh. This might be a problem later on!
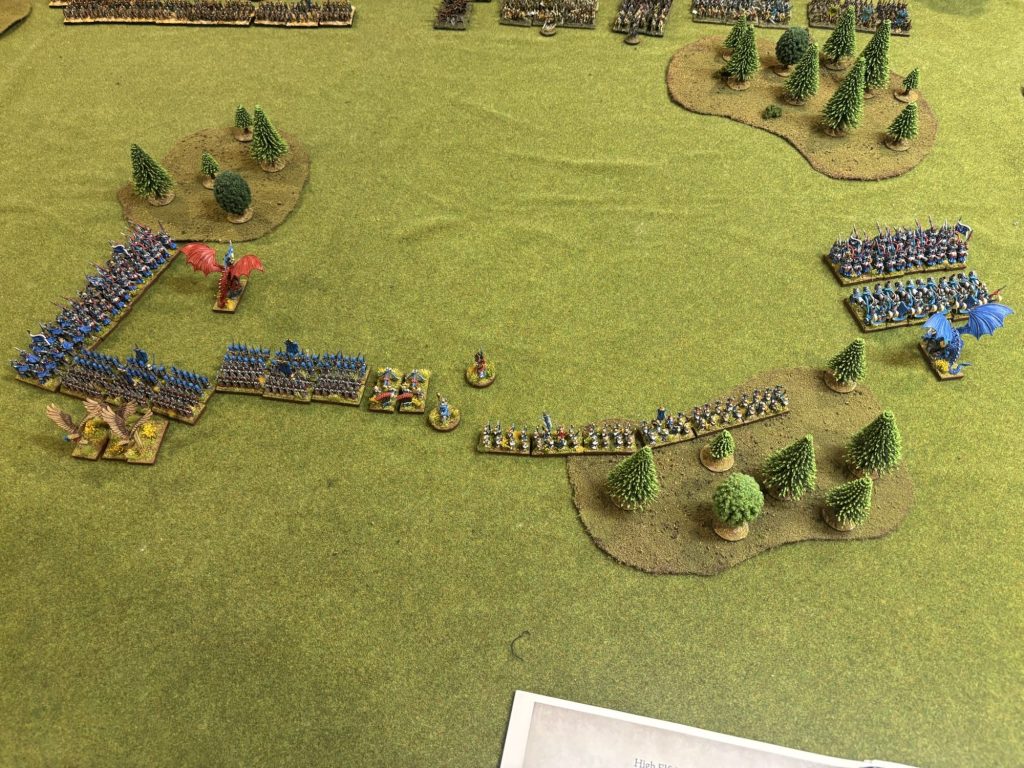
In the Undead turn the Necromancer unleashed a Deathbolt, with all three hitting one of the the Silver Helm units lost a stand! Meanwhile the rest of the Undead moved about to get to grips with the High Elves.
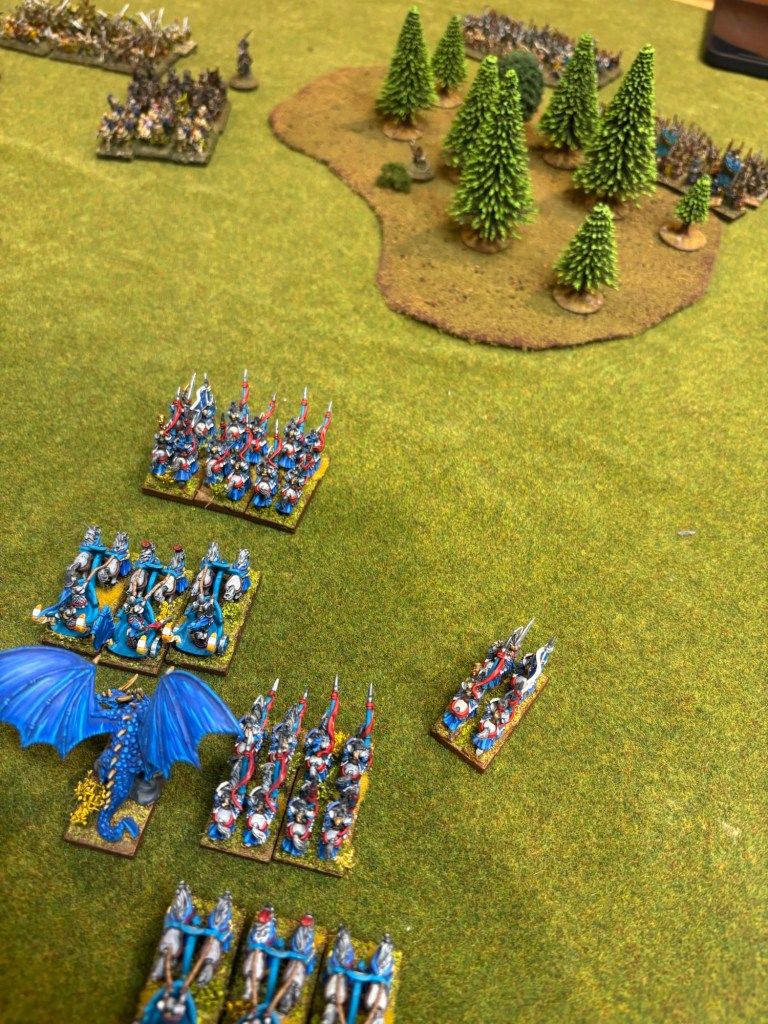
Well. The much vaunted High Elf leadership didn’t help much this turn with every High Elf character failing their first leadership test! There must have been some serious Intrigue at Court going on! At least the Bolt Throwers only managed to hit the bats twice. I can’t imagine this coming back to haunt me later….
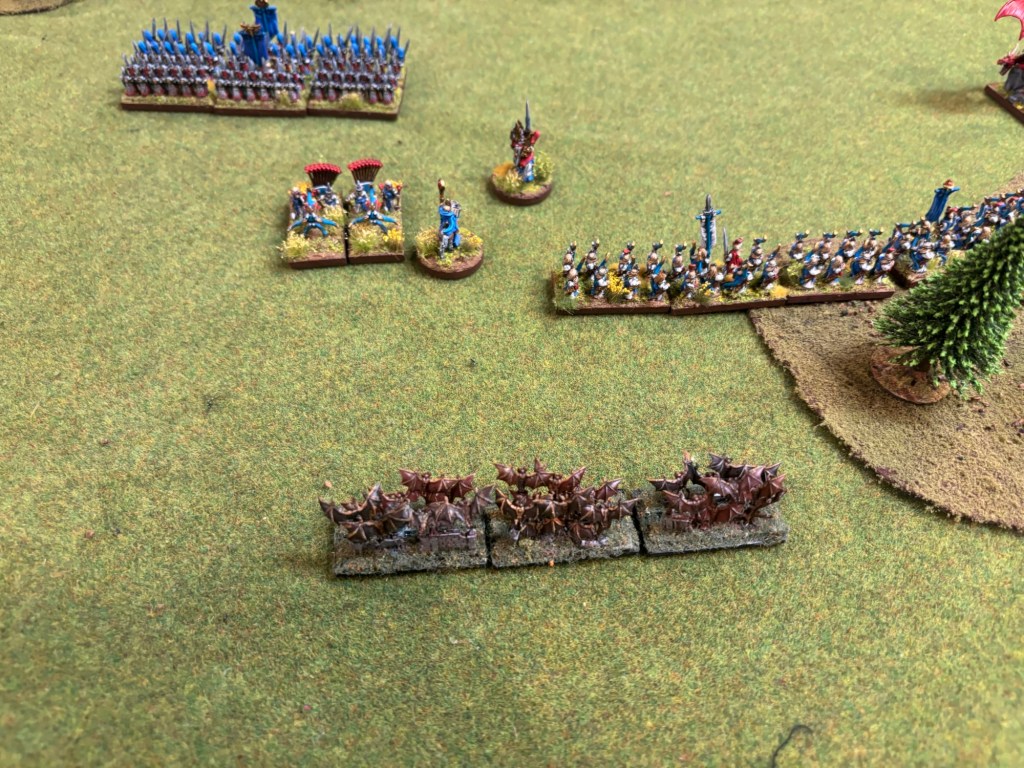
The battlefield at the beginning of the Vampire Counts Turn 2.
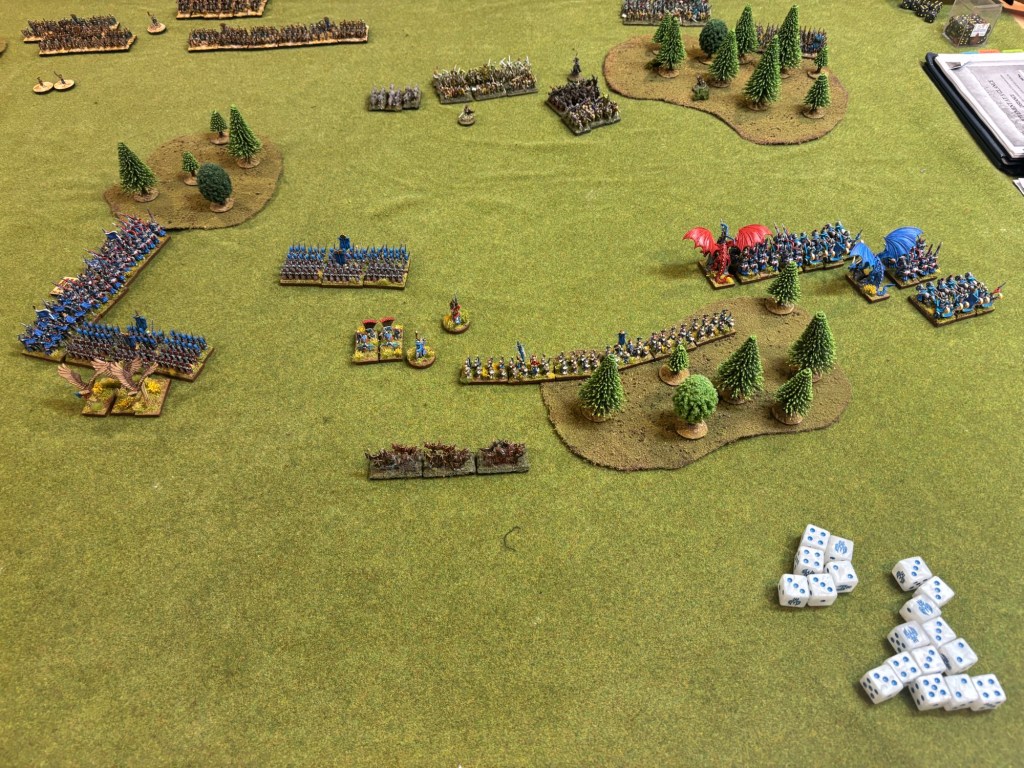
The Tomb Kings begin their advance against the High Elves with the Vampires Dire Wolves leading the way.
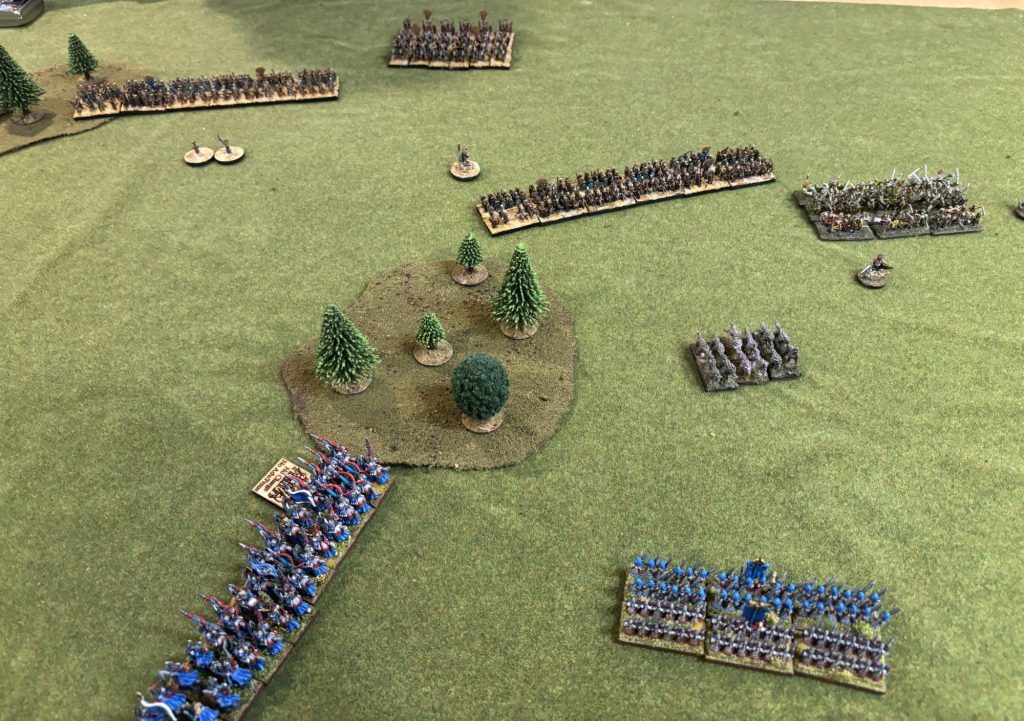
Like the High Elves the Vampire Counts had some issues with their Leadership , and while bad it wasn’t as bad it did slow them up. With both the Necromancer and Hero Vampire failing their Leadership tests it was up to the Vampire Lord to order his Black Knights into the Silver Helms. Only one of the two units in the Brigade was able to make contact and the second unit failed its second order and couldn’t close!
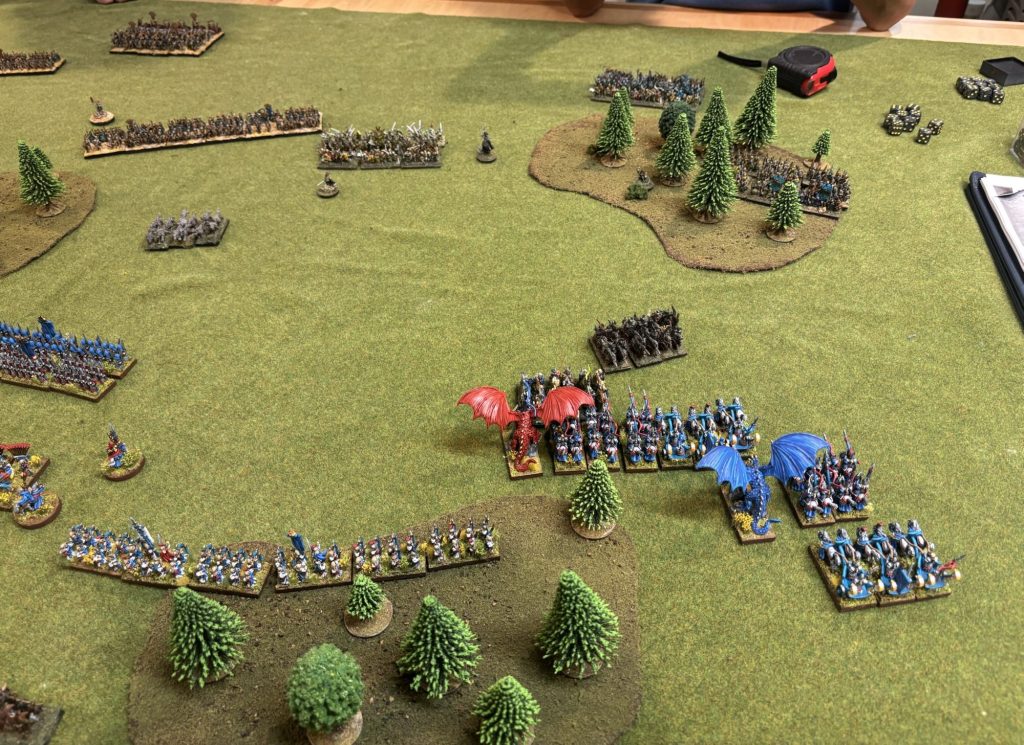
The Black Knights and the Silver Helms both traded two stands, but the High Elves caused more wounds. Knowing they would be able to initiative charge next turn the High Elves let the surviving Stand of Black Knights fall back so they could recover their wounds.
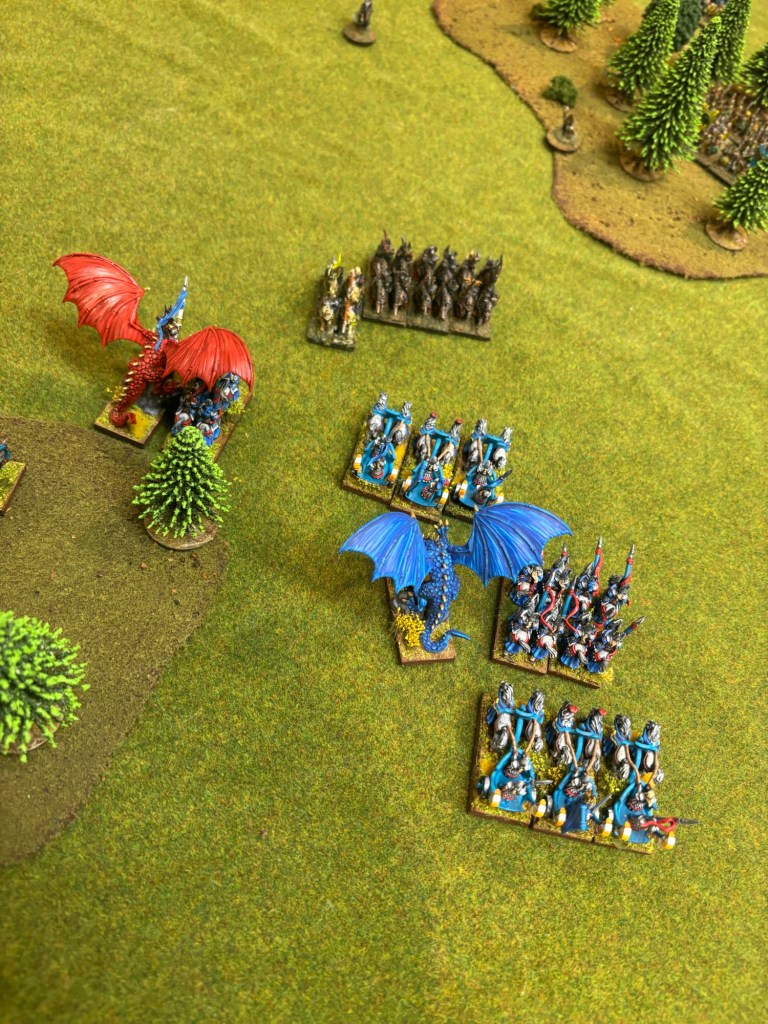
The big action in High Elf Turn 3 focused on the combats on the right flank. The solo Silver Helm decided discretion was the better part of valor and opted to not charge. The Chariots, joined by the Hero on his dragon, charged the remaining Black Knight stand and only managed to put two wound, taking one in the process. The Black Knights fell back and the elven combatants followed up into the already engaged second unit of Black Knights. As if fighting a Dragon Rider and three stands of Silver Helms wasn’t bad enough!
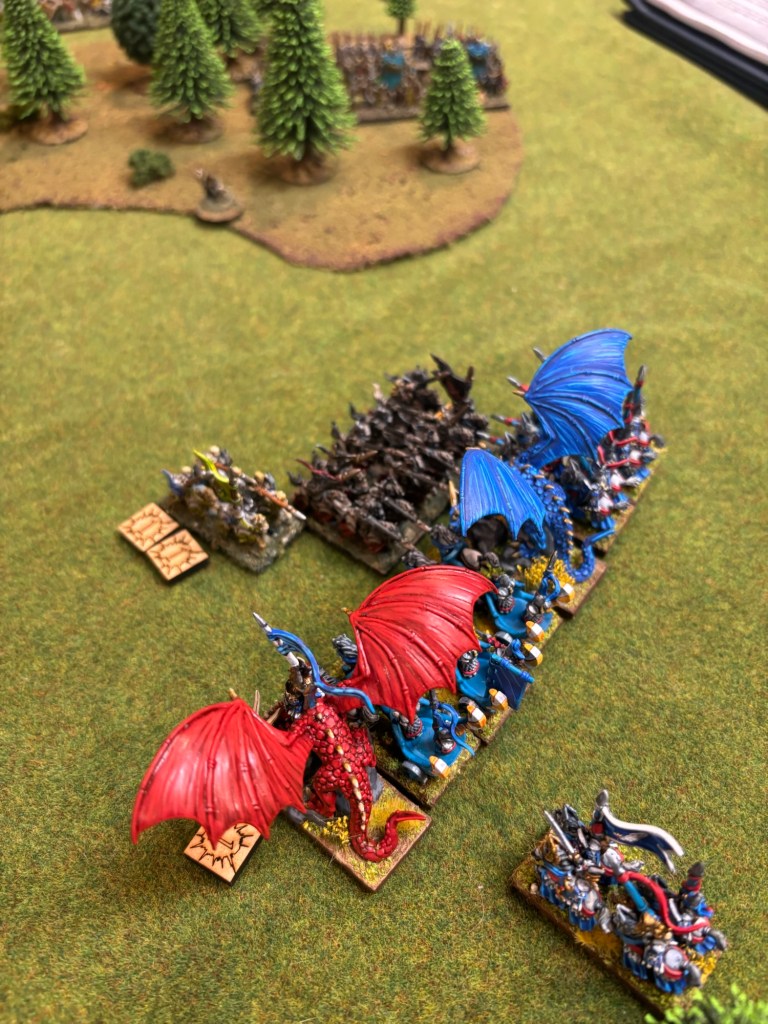
Well, I guess it wasn’t that bad as my luck continued to fail me and we only killed off two stands of the undead cavalry! I pulled back everything but my Dragon Rider which stayed engaged in combat. I realized this was probably a mistake, I could have at least fallen back to defend the beasts right flank but I guess we will see what happened in a few panels! Don’t worry, on the other flank I continued to fail Leadership tests, but at leas the Bolt Throwers were able to kill a stand of bats. That has to count for something? Right? Right? Ughhh….
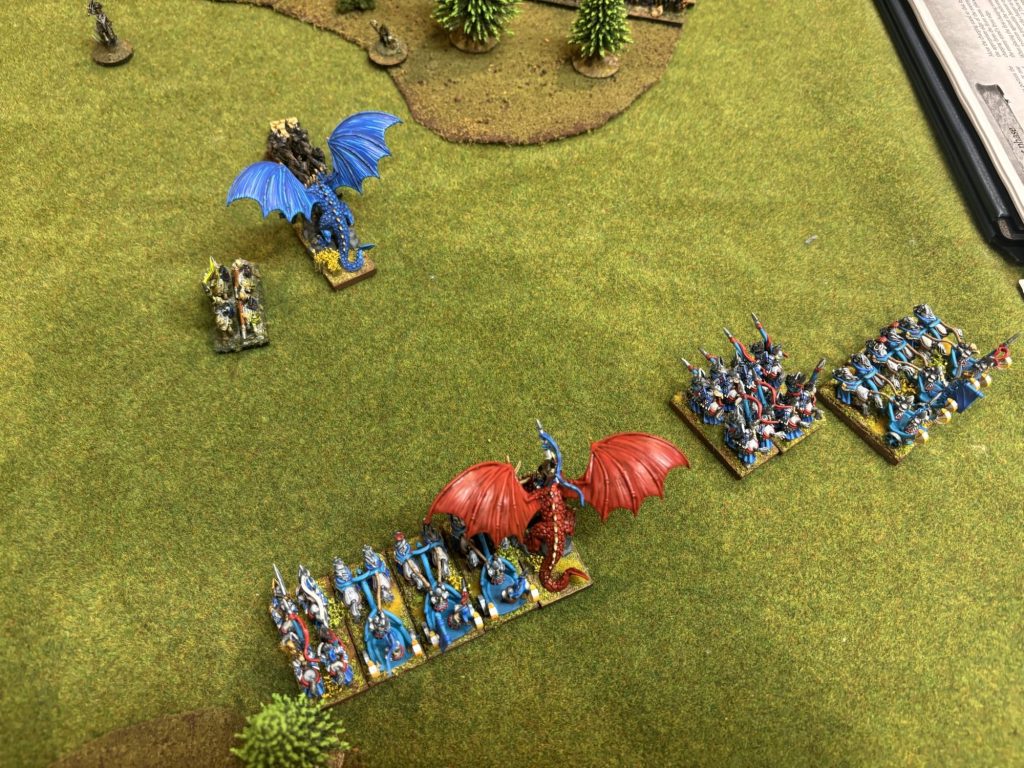
As predicted the Skeletons flanked the Dragon. The Skeletons had a blunder and rolled a 6, so they were able to advance forward. Luckily for the Elven cavalry they were just out of range!
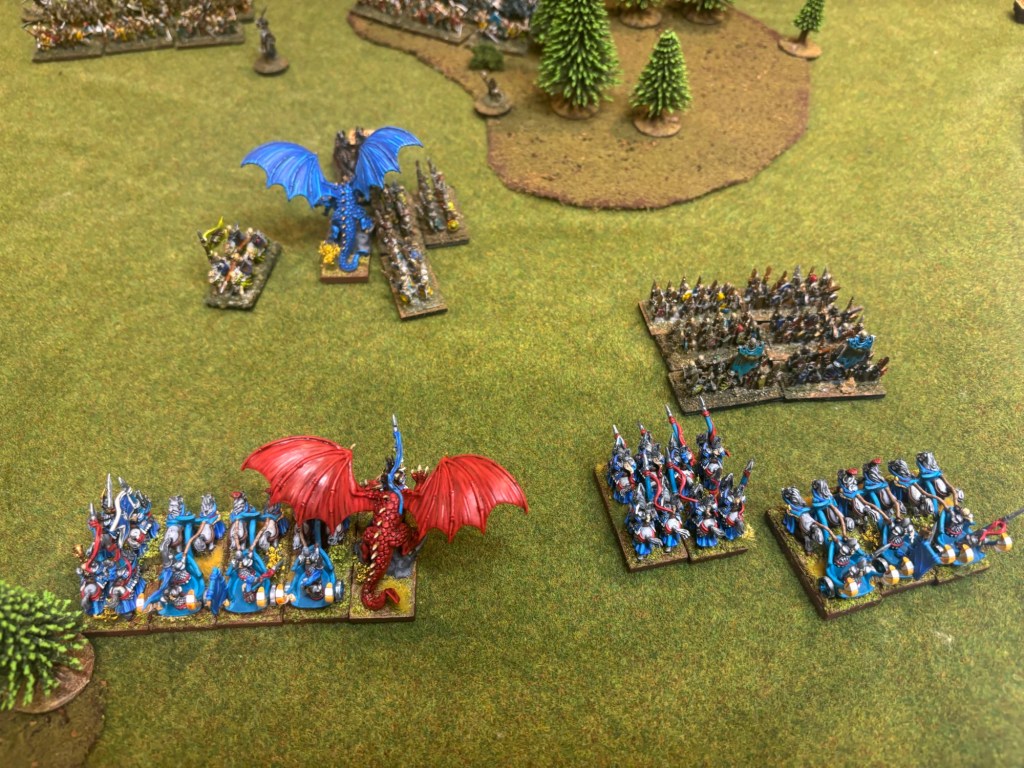
On the left flank the Dire Wolves took the opportunity to charge the rear of a unit of Silver Helms, and the Vampire Bats took advantage of the fact that last turn the Eagles weren’t able to intercept them to charge the Bolt Throwers!
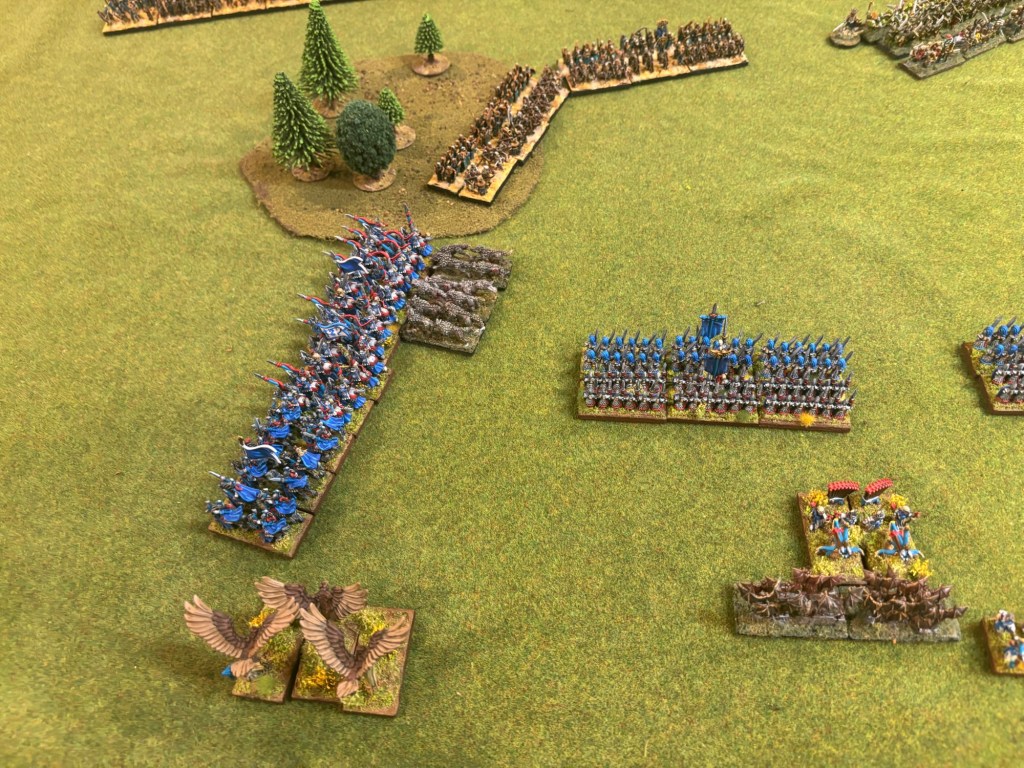
Oh, you thought things were done charging the Dragon Rider? Nope. The surviving stand from each of the units of Black Knights charged in too! Ooof….
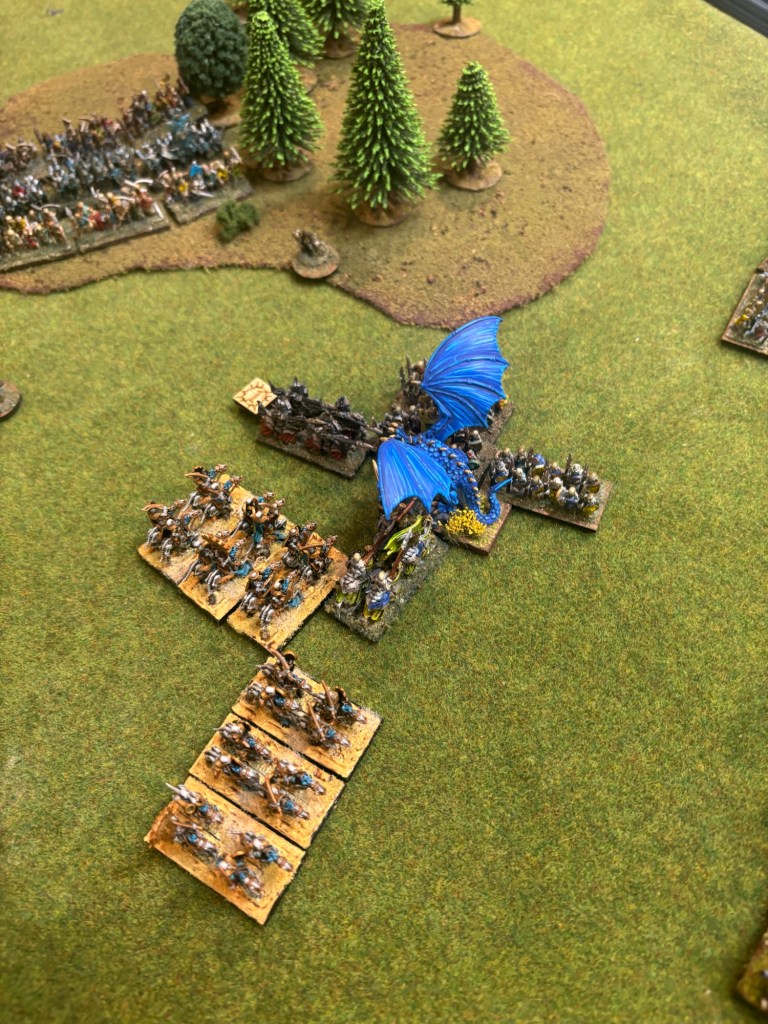
Despite the range from their own general the bats were able to pass their command test and charge the Bolt Throwers! Oh, and would you look at that? The Swordmasters that were in front of the Spearmen seem to have disappeared. What could have caused that? Oh, Skeleton archery and magic put five hits on them and when they fell back on 5D6 they ran 23″ causing them to be destroyed! I guess my dice did have the high sides on them after all….
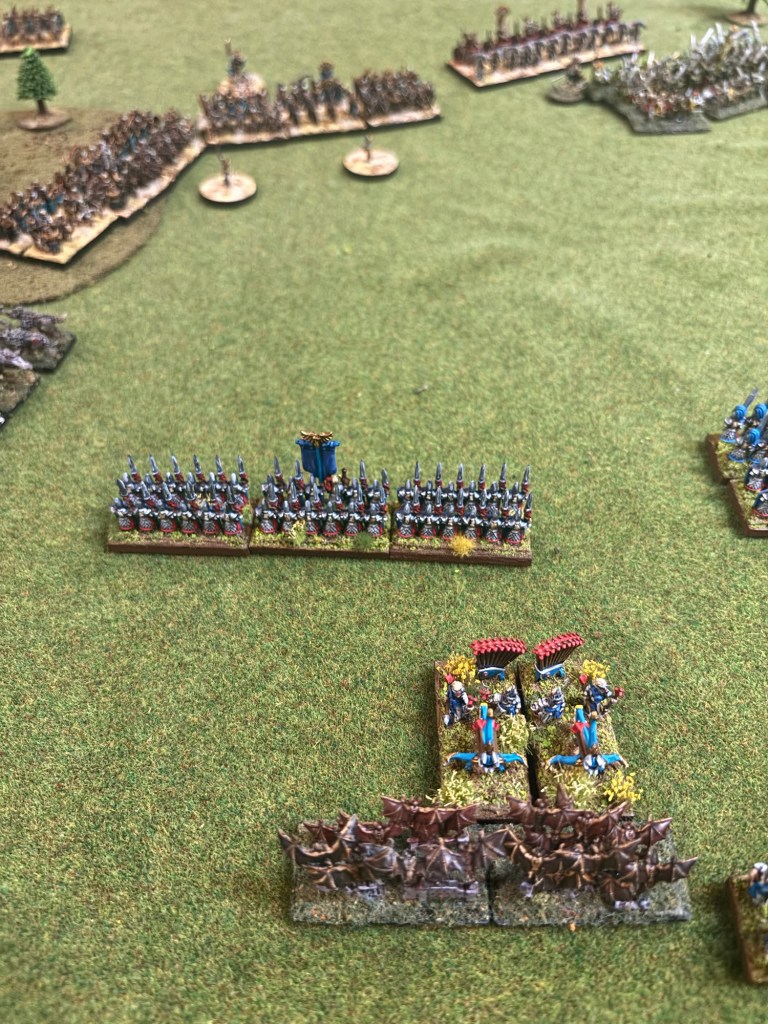
The undead wolves nipping at their heels provided no challenge to the High Elves which were able to destroy the unit after two combats, but had a stand of the knights dragged down into the mud.
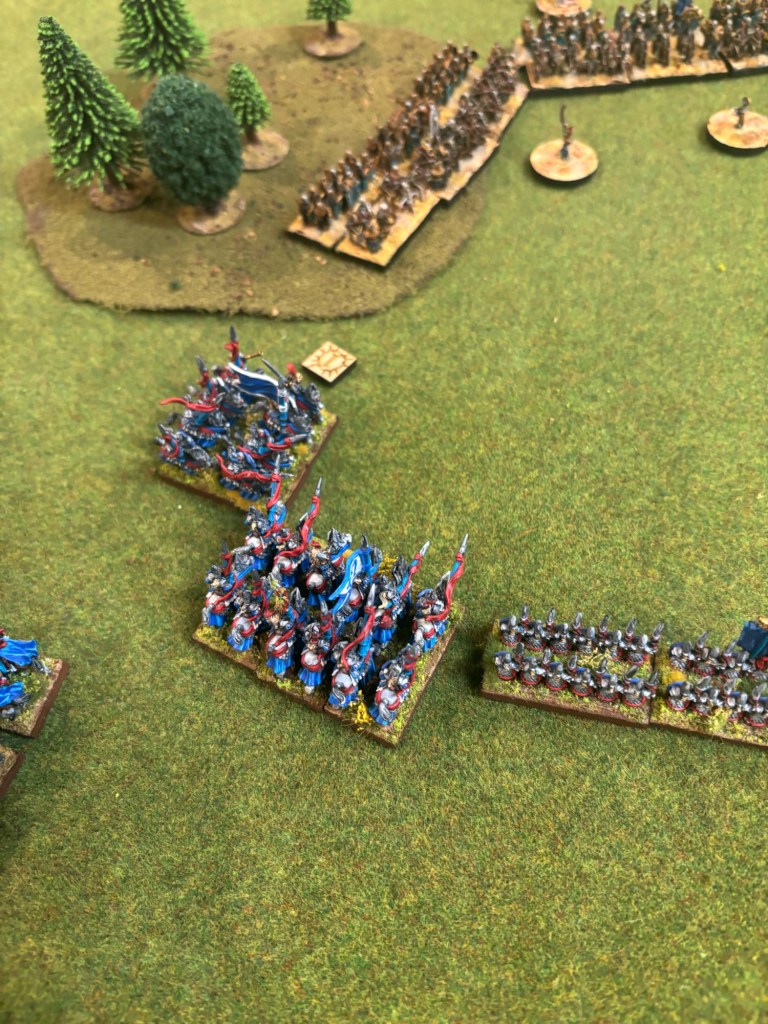
I had thought the Dragon might end up surviving, even if it ended up wounded. Well, that was not to be the case as the chargers caused 8 hits (negligibly above average) and the Dragon rider managed to only save two, dying to a flurry of lesser beings attacks! The way the dice were rolling this game I just had to take a picture of the roll!
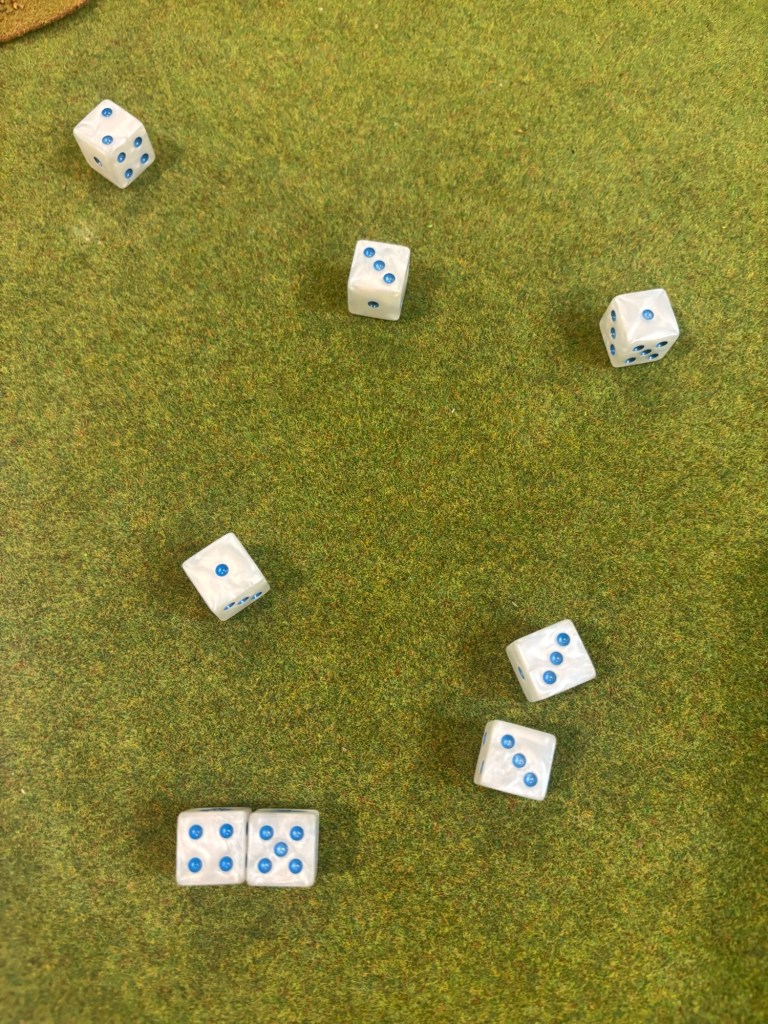
While the heroic Elves were able to put a wound on the bats, the bats caused two back winning the combat. Unable to fall back the Bolt Throwers were destroyed!
This is the first game I was truly grateful for the Initiative Charge as I had been failing everything like it was my job! To start with the fresh unit of Silver Helms launched their charge against the Tomb King Archers brigaded with a unit of Spearmen, the Elven Spearmen charged the bats, and the Great Eagles charged the bats as well for good measure! Meanwhile the two stand unit of Silver Helms moved up to protect the flank of their brethern engaged in combat.
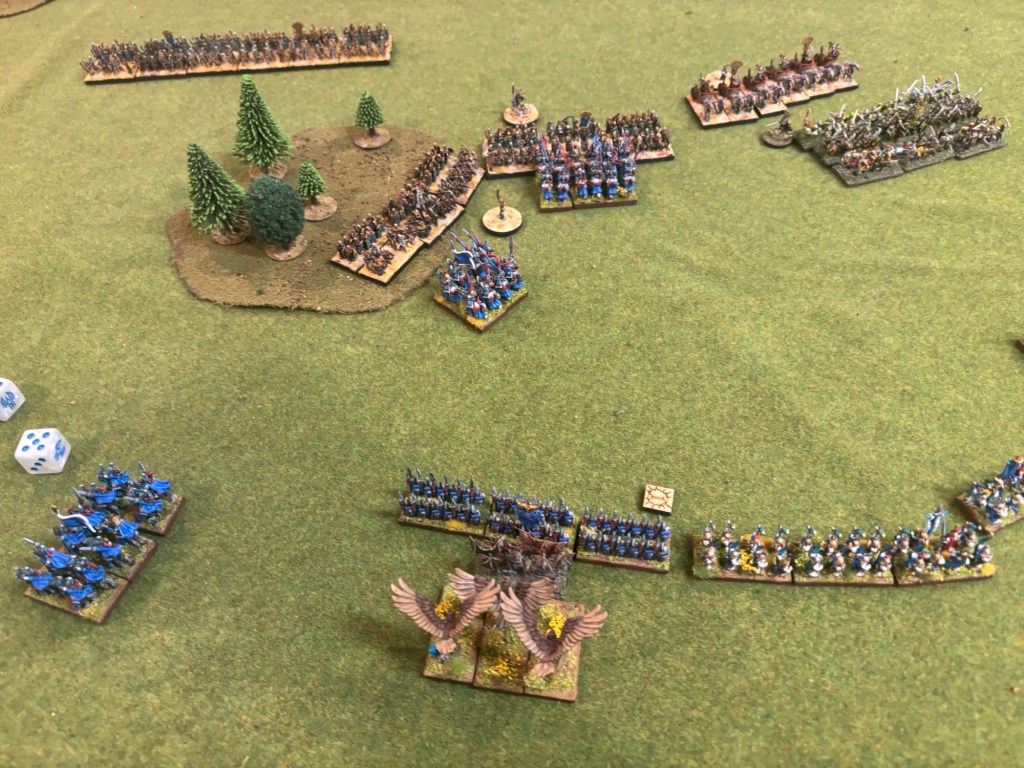
On the right flank the two units of Spearmen Initiative charged one of the units of Tomb King light cavalry, the remaining Silver Helm stand and the Chariots, joined by the Hero on Dragon, charged one of the remaining stand of one of the units of Black Knights, and the Silver Helms and Chariots charged the three units of Skeletons brigaded together on the far flank. This could be a make or break turn across the board!
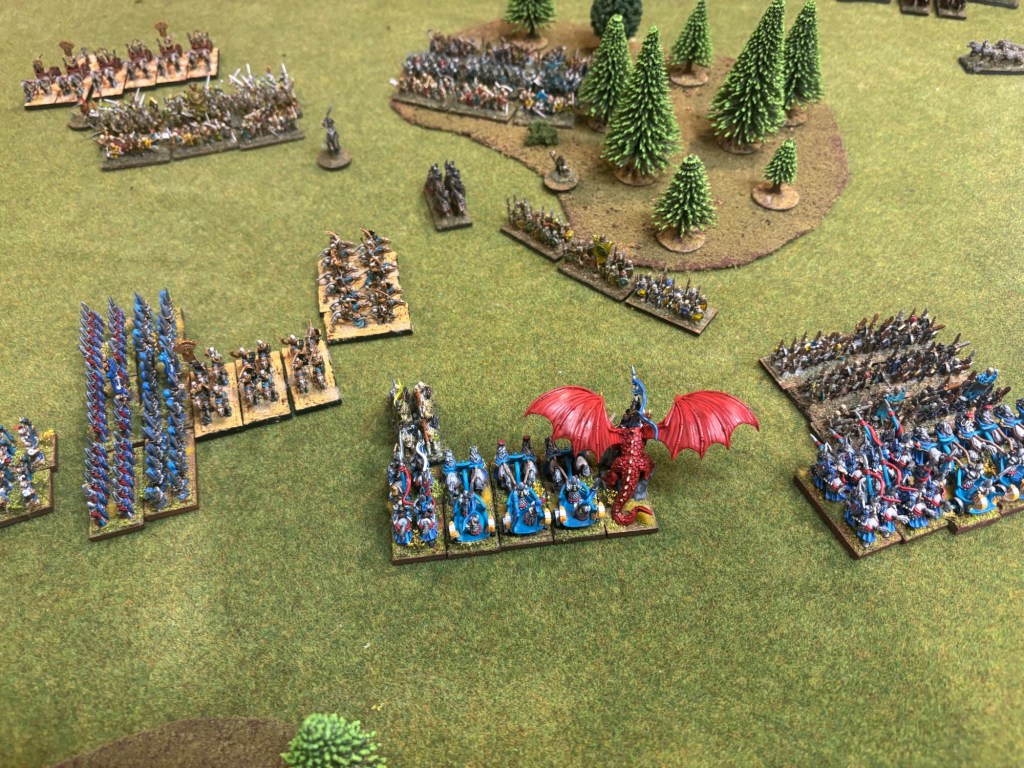
Off camera in a rain of bow fire the archers managed to kill a stand of Zombies that would be in position to threaten the flank of the High Elf spearmen fighting the Tomb King light cavalry. In combat the Spearmen and the eagles made short work of the bats destroying them for no loss of their own.
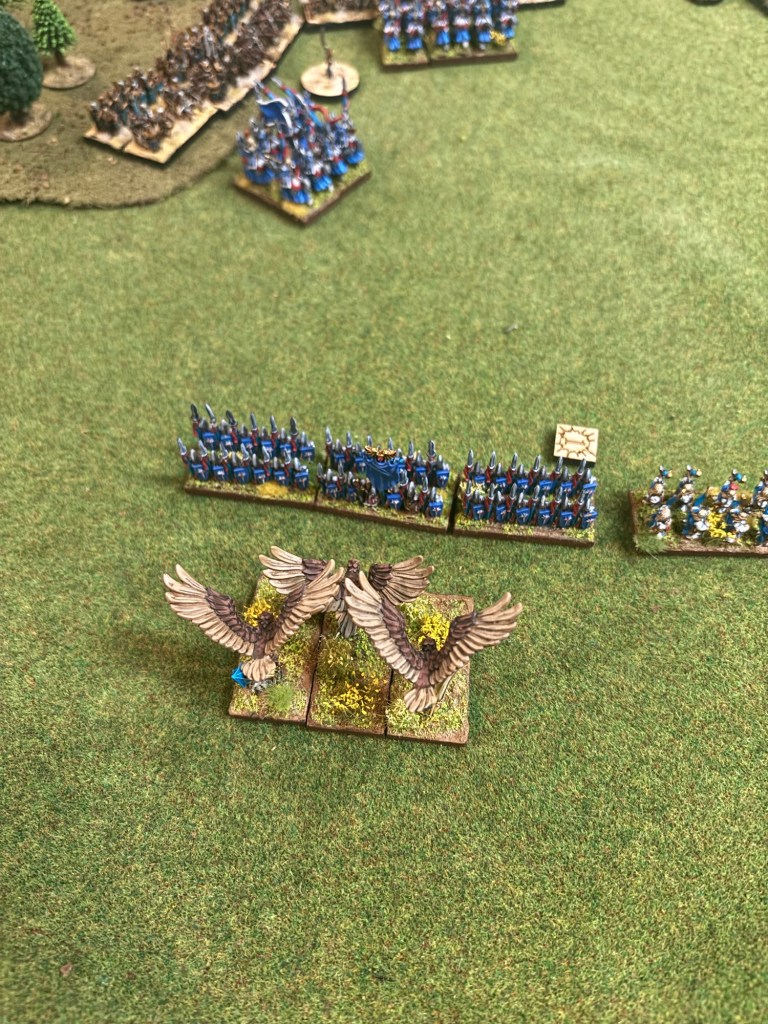
After two rounds of combats the Silver Helms lost a stand of noble riders, but managed to kill four stands of Tomb King Skeletons. Next turn should see the rest of the Skeletons destroyed, whether the Silver Helms would be alive to celebrate their victory remained to be seen.
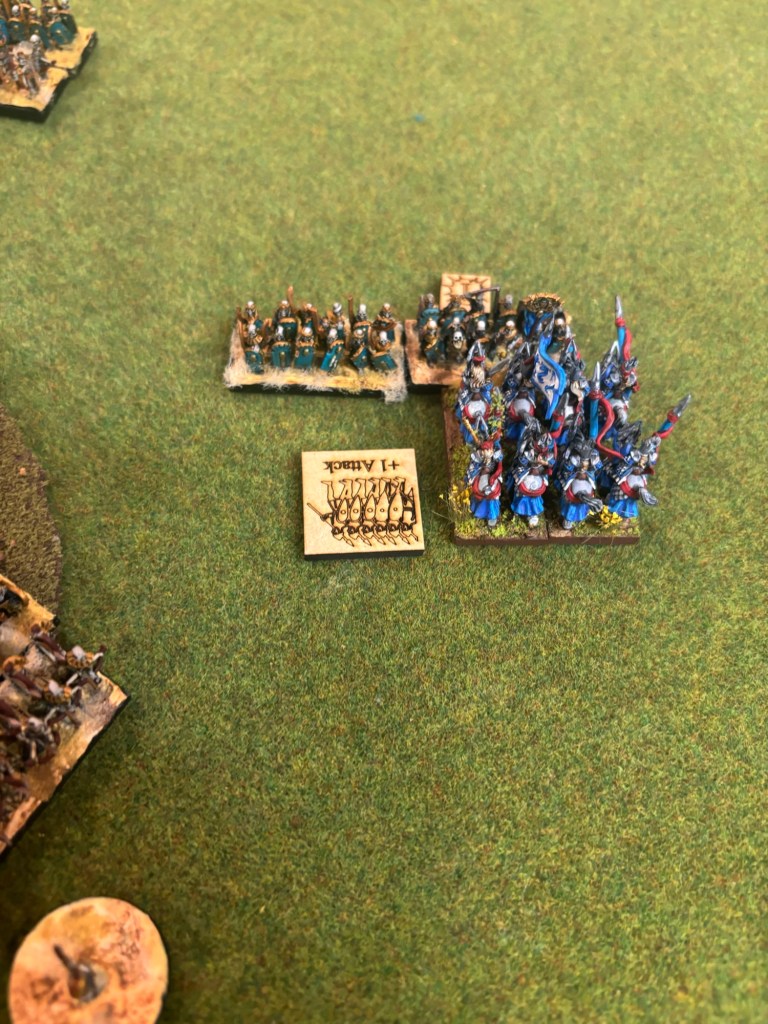
The combined might of the stand of Silver Helms, Chariots, and Hero on Dragon made quick work of the Black Knights and the followed up into the flank of the remaining unit of Tomb King light cavalry. The unit of Tomb King light cavalry that was caught in the flank was utter destroyed by the Spearmen with the help of their General. I didn’t lose any of the Silver Helms or Chariots engaged against the three units of Vampire Count Skeletons that impetuously advanced and managed to kill four of the six stands! With only two stands left the High Elves should be made quick work of them in the following turn.
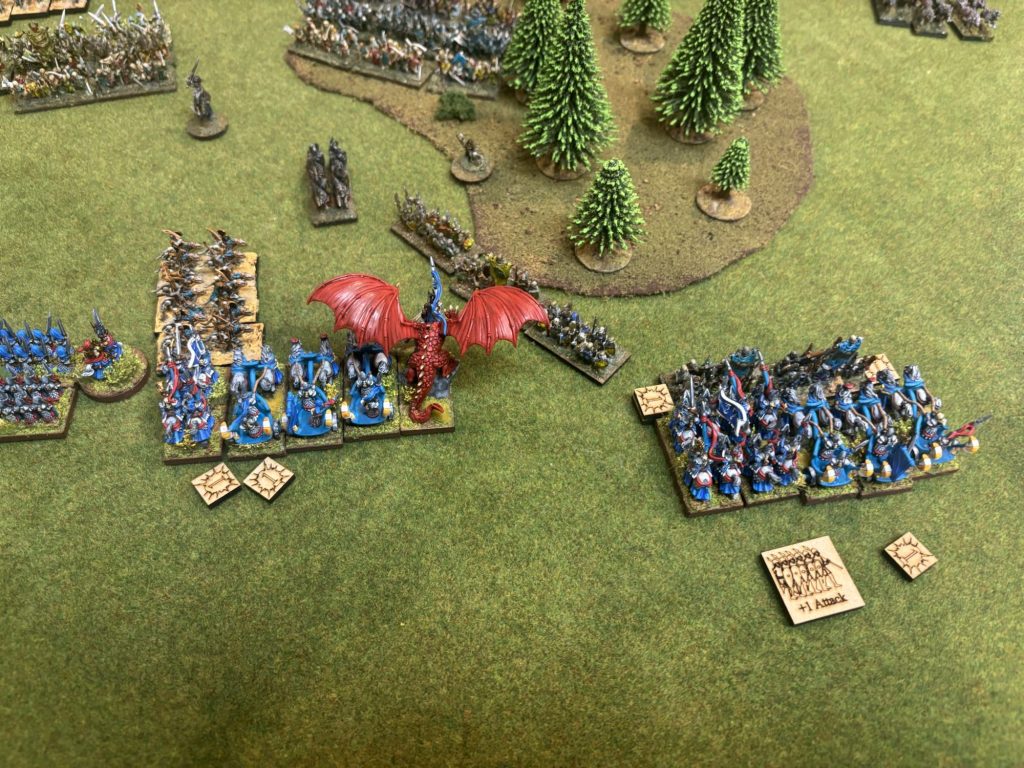
In the Undead turn the Tomb King Chariots finally made it into combat, with one unit hitting the Silver Helms in the flank, and another hitting the Spearmen. Fortunately for the Spearmen only one of the three chariots had enough movement to make combat so they might make it out alive! (In retrospect should there have been some form of irregular formation penalty on the chariots for ending in that formation? Leave a note in the comments if you know the answer and got this far!)
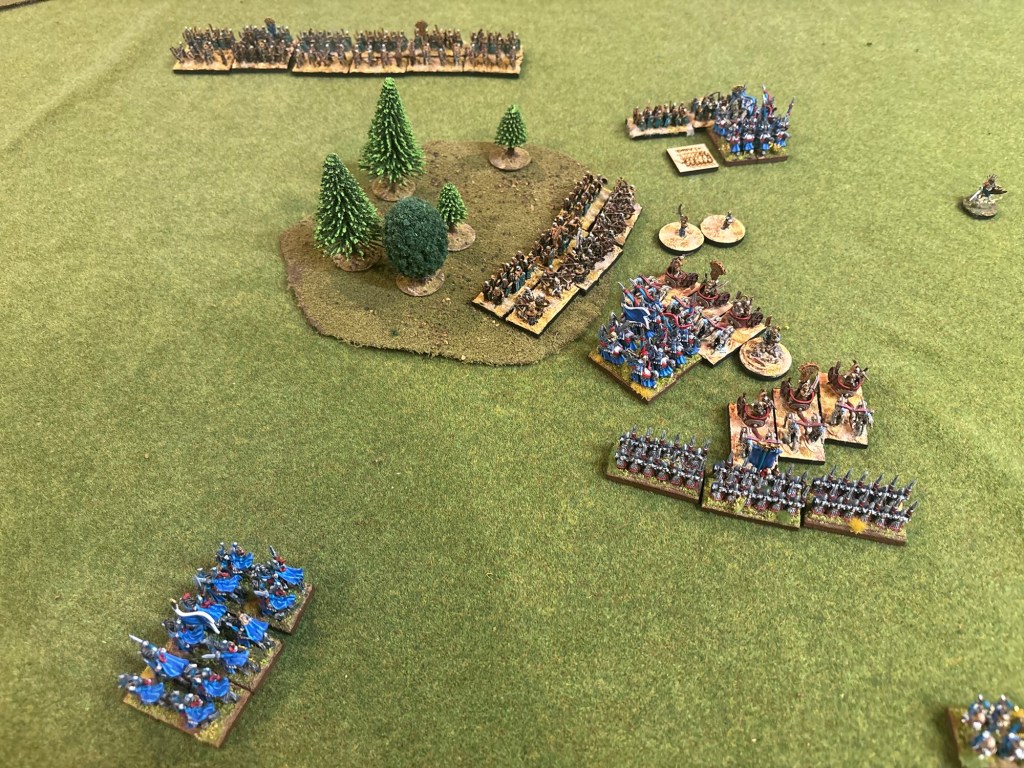
In the center of the field the Zombies and Skeletons brigaded together charged the Spearmen and the Skeletons that had been working there way into the battle charged the flank and front of the chariots and the Hero on his dragon.
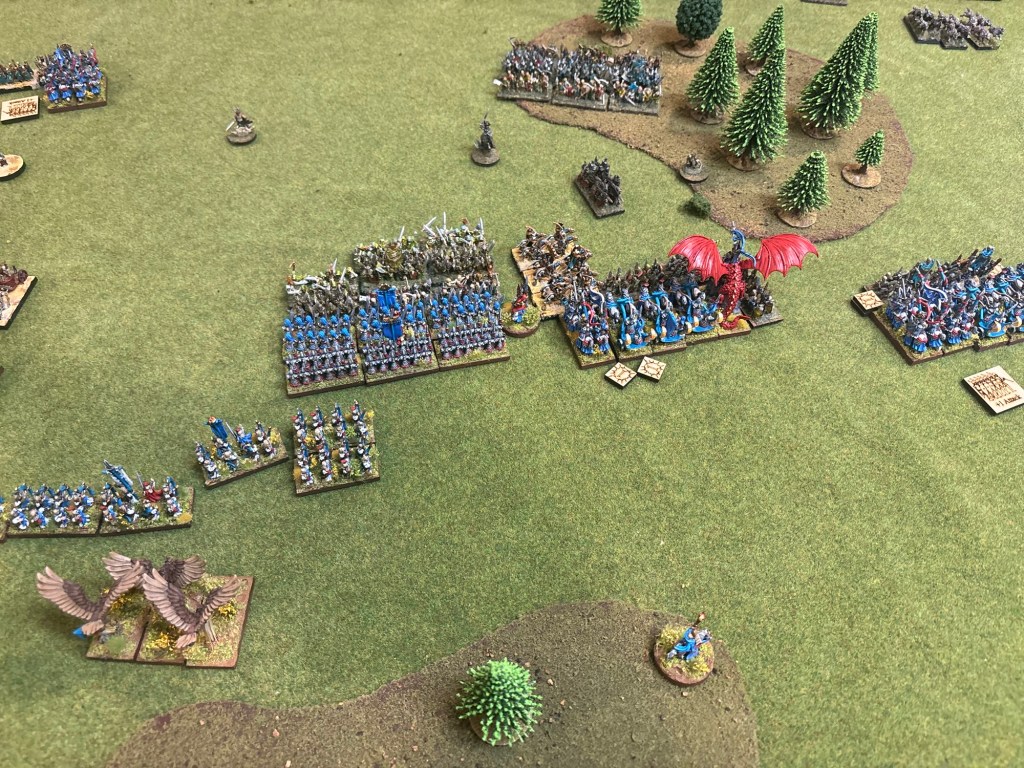
The Tomb King chariots made quick work of the Silver Helms they hit in the flank and overran into the Elven Spearmen. To make matters worse the Tomb King Liche Priest was finally able to cast Raise Dead launching a unit of Skeletons into the rear of the Spearmen! So much for surviving that combat, all three stands of High Elf Spearmen were quickly ground into the earth!
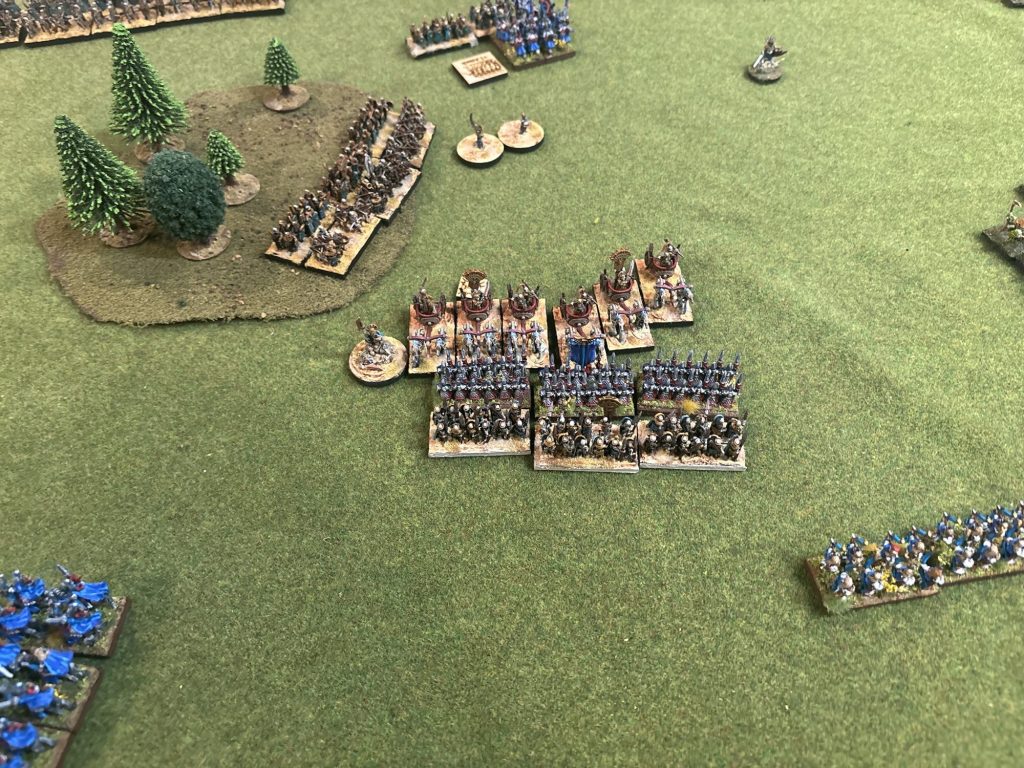
In the combat against the Hero on the Dragon the Undead managed to kill the remaining Silver Helm stand and two chariots for only the loss of two stands of Vampire Count Skeletons! The second round of combat ended in a draw so the two forces were locked together!
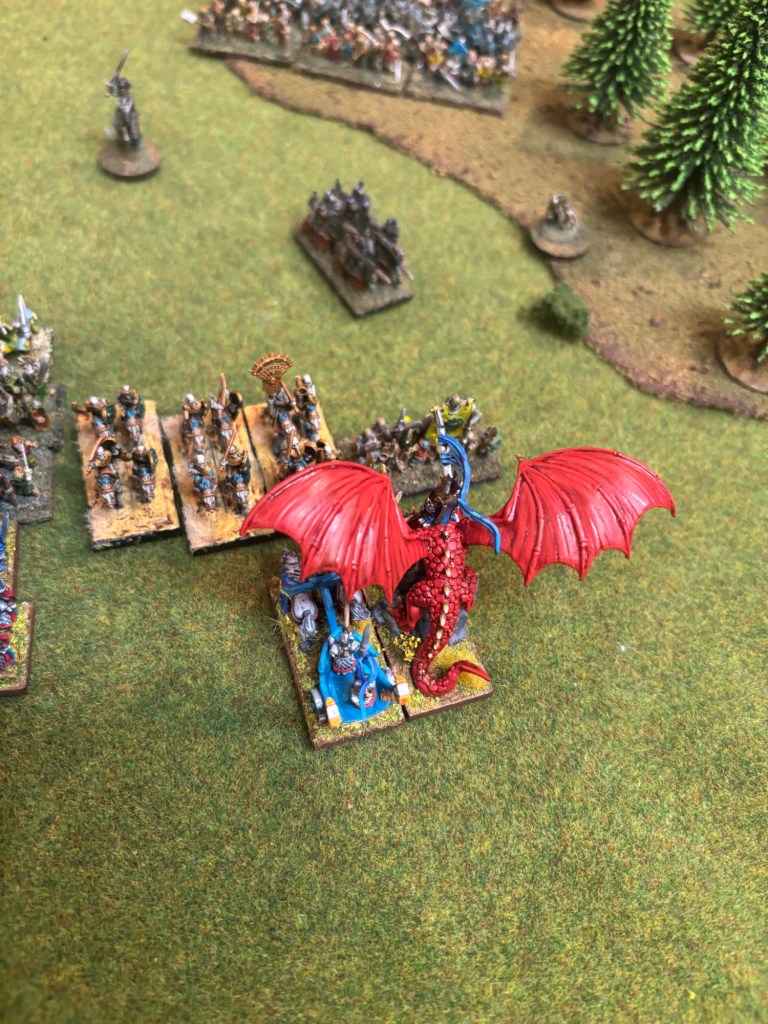
In High Elf turn 5 the Elves launched charges across the board. Two chariots charged the last of the Black Knights and the Elven Spearmen used their initiative to join in the combat against the Tomb King light horsemen.
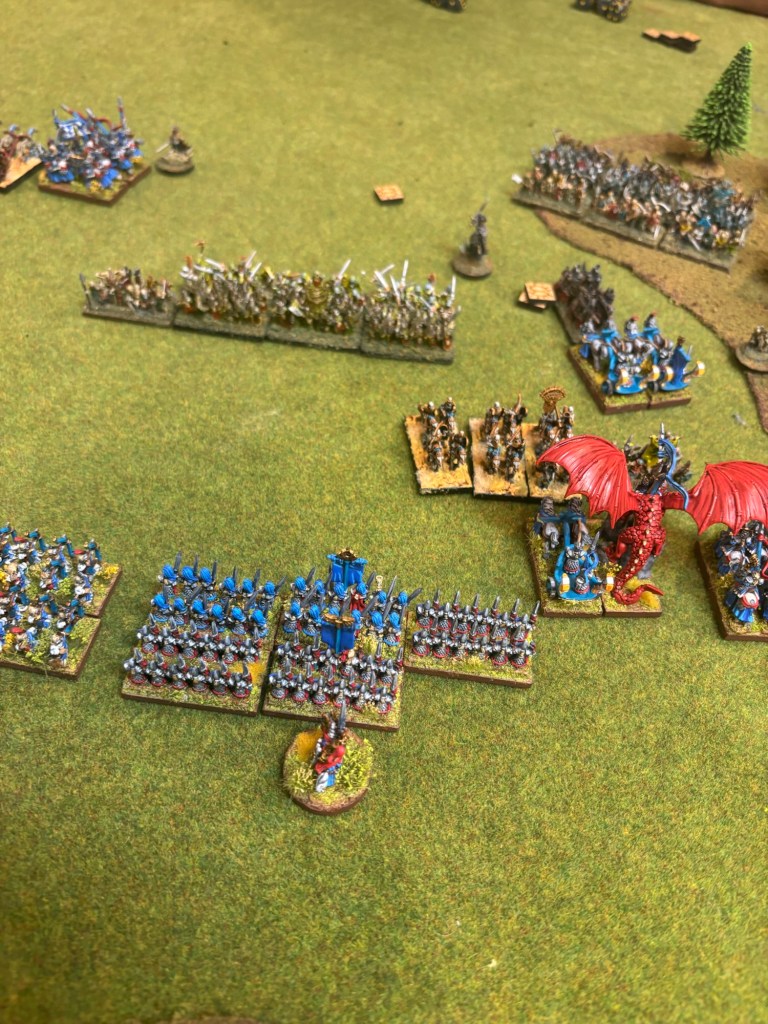
On the far left flank the Reavers charged the Tomb King Chariots. This turned out be a very bad idea as due to a series of disastrous rolls the Reavers were wiped out to an Elf! Wow, that was terrible! I guess next time we try to use command rolls to at least try and get a flank!
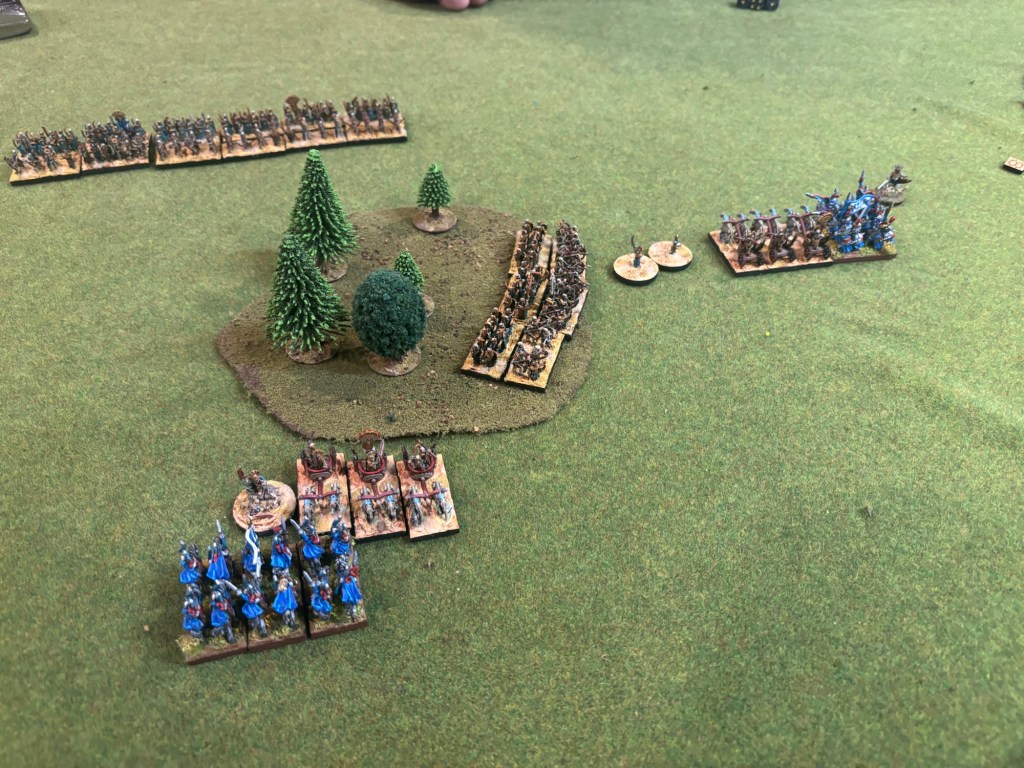
In the middle the Silver Helms hit the flank of the Tomb King Chariots, only managing to kill one of the enemy warmachines!
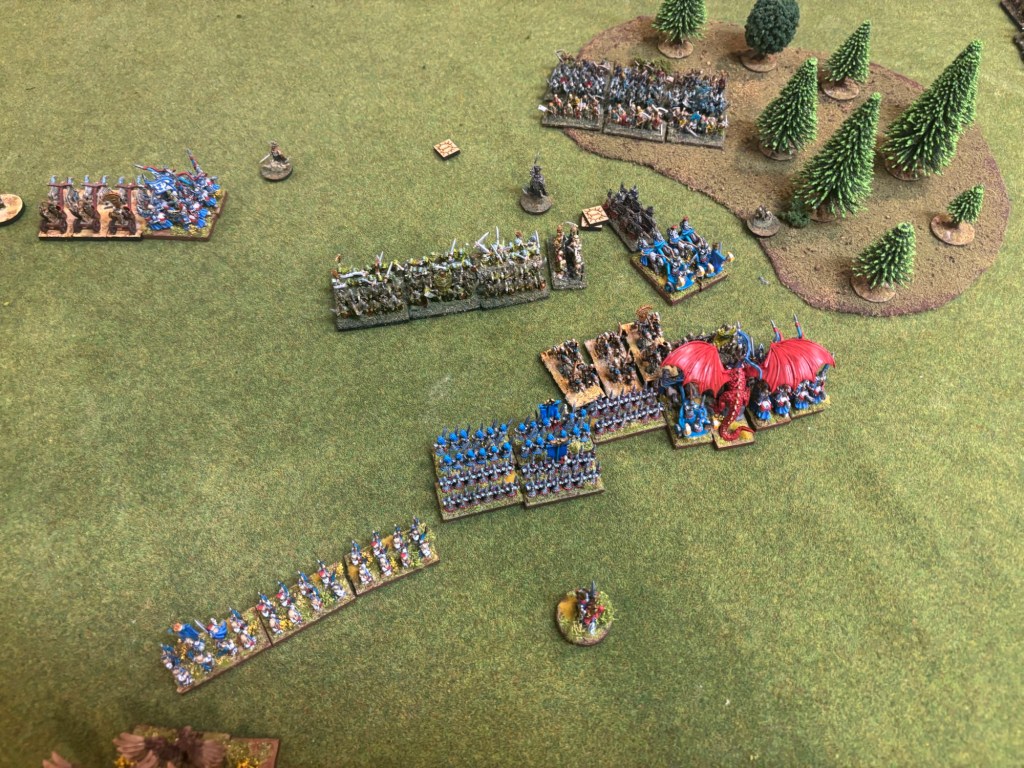
Things improved for the High Elves in the center of the board as the two stand of Silver Helms were able to finish off the Black Knights in a glorious charge, while the massed forces of the Elves were able to destroy the Tomb Kings light horse and the remaining Vampire Skeleton stand before the elven infantry crashed into their undead foe! Additionally, the chariots were able to destroy the remaining stands of the Vampire Count skeletons they were fighting.
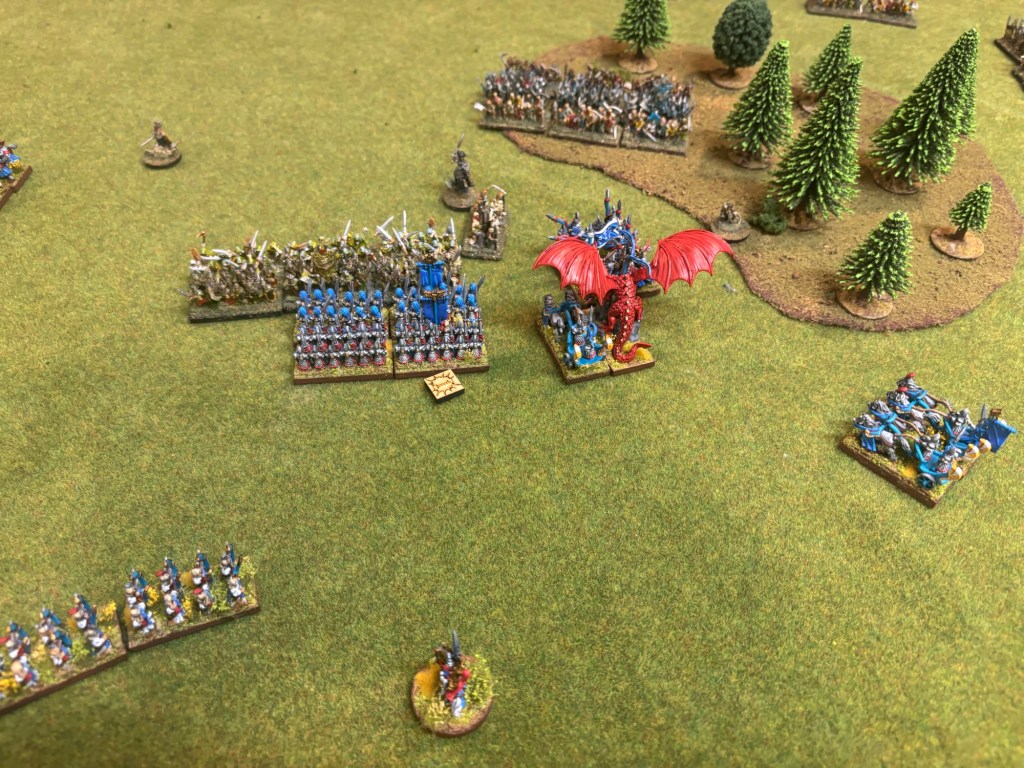
With the death of the Black Knights, and the two units of Vampire Count skeletons the Vampire Counts army reached their break point and faded away. With that the game was over, and victory belonged to the High Elves!
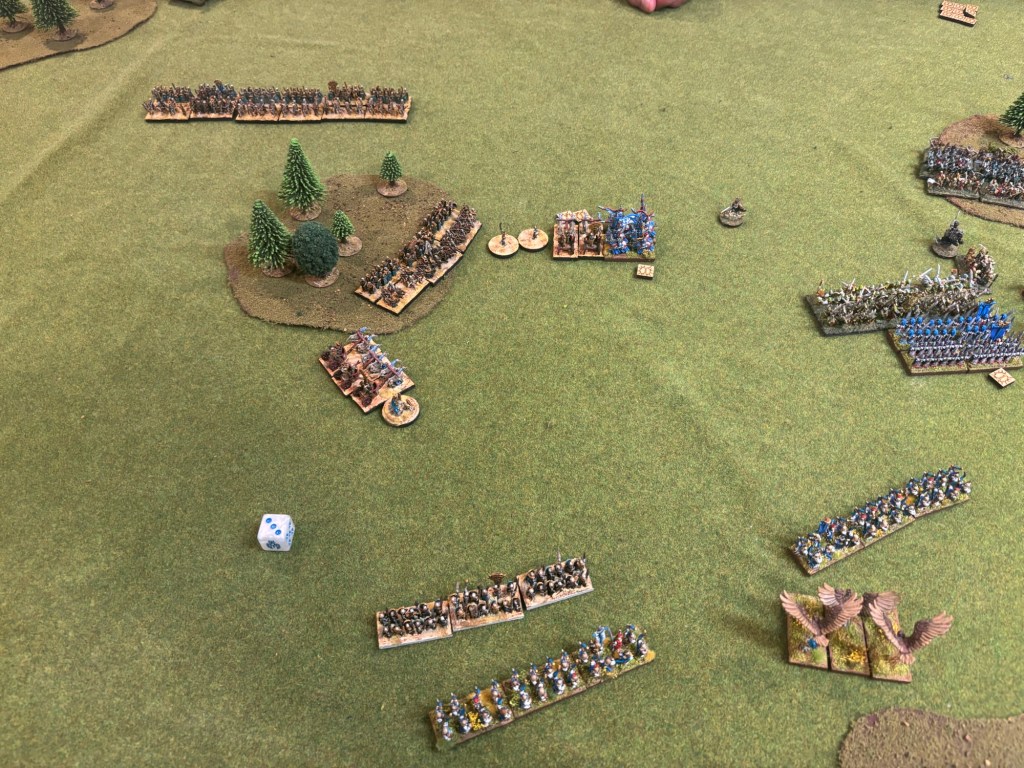
This ended up being a very tightly fought game. I was able to overcome my bad dice rolls and was helped out by a few turns of poor command rolls by my opponents. At the end I was two units away from breaking as were the Tomb Kings. In the “what would have happened” phase of the game we decided it would have been to close to call to see if the High Elves could break the Tomb Kings before being broken themselves. I think we would have ended up losing both the Silver Helms and the Chariots in the middle of the board and from there it would come down to who could kill an additional unit first. Those Tomb King Chariots were still scary but who knows? Either way it was a moot point because the fact remained the High Elves were able to destroy the Vampire Counts and the Tomb Kings returned to their pyramids muttering about their ancient cousins and plotting their revenge!
Having played this as our first 1 v 2 game I thought the side with multiple generals wass at a slight advantage as one general doesn’t stop the whole army from moving, but then again they are spending more points on characters and less on units. Being able to defeat one army in detail also meant I had to destroy less units overall than if they were one big army. I’m not sure where the advantage was but we all had fun and that’s what matters!
If you have any thoughts on running multi-player games like this for Warmaster let me know in the comments!
-Wachtmeister


I have spent 25 years+ with Warmaster armies on the shelves… always wanted to give it a shot, but there’s so much work involved as you need two armies (no one around here seems to have it).
Great report even if the evil elves took the win! I wonder how you’d photograph this to actually be able to see it?
LikeLiked by 1 person
No idea, but I’d be willing to learn! I know my photography leads a lot to be desired at times!
LikeLiked by 1 person
Haha I didn’t mean to imply that! I was just thinking that Warmaster presented its own challenge in that the miniatures are so small
LikeLike
It is difficult, especially since despite the small scale of the figures the game board is still a typical Warhammer board size!
LikeLike
Two heads aren’t better than one after all! Definitely interesting question whether this was balanced, perhaps the allied commanders could have had a few more points but given it was quite close seems like it was ok as is!
LikeLike
I’ve been thinking about this quite a bit. On the one hand the dual armies are more fragile but depending on the forces it’s hard for the single army to mass against one of the smaller armies. In this case the Vampire player threw his troops in piecemeal and didn’t wait on the Tomb Kings. Even with this I had a hard time amassing on the Vampires. I also thought having to spend more points on characters would be a problem for the two armies, but they didn’t need to bring three characters each, they chose to. Plus having two generals meant that they wouldn’t lose all their commands if one failed, half the force could still act as normal. I think ultimately the pro’s and con’s balance out, but I’d be willing to play a few more games to see if I’m right!
LikeLike
Looks great, unfortunately I have never played Warmaster so I cannot offer any useful advice.
LikeLike