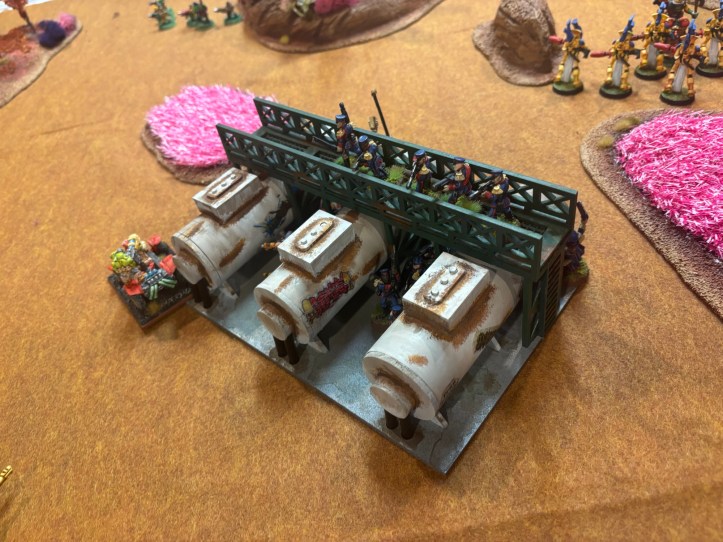
Recently a group of my friends and I got together to play a game of 40k 2nd Edition featuring armies we painted for the 40k 2nd Edition Challenge. The fact that we would all pick up points for the Race to Terra portion of the challenge was an added bonus! We decided to use elements from the C0wabunga Journal Webs of Uluru campaign guide. Most of the scenarios were for smaller games than we were going to play so we decided to set up a tank farm in the middle of the table as the distillery from the campaign guide and decided both sides were going to try to Take and Hold it. We also used the Butorg field rules and the Gigarachnid rules. We were going to use Prophetic Overconfidence but we forgot to write down our predictions! Each player got 750 points, and every model on the table was painted during the course of one of the 40k 2nd Edition Challenges! We set the games time limit at five turns.
In true 2nd Edition we pit a hodge podge or armies against each other. We had Chaos Space Marines team up with Orks in the fight against Space Wolves, Moridan Iron Guard, and Eldar.
Jon McMaster used his Space Wolves from Mark VI of the challenge.
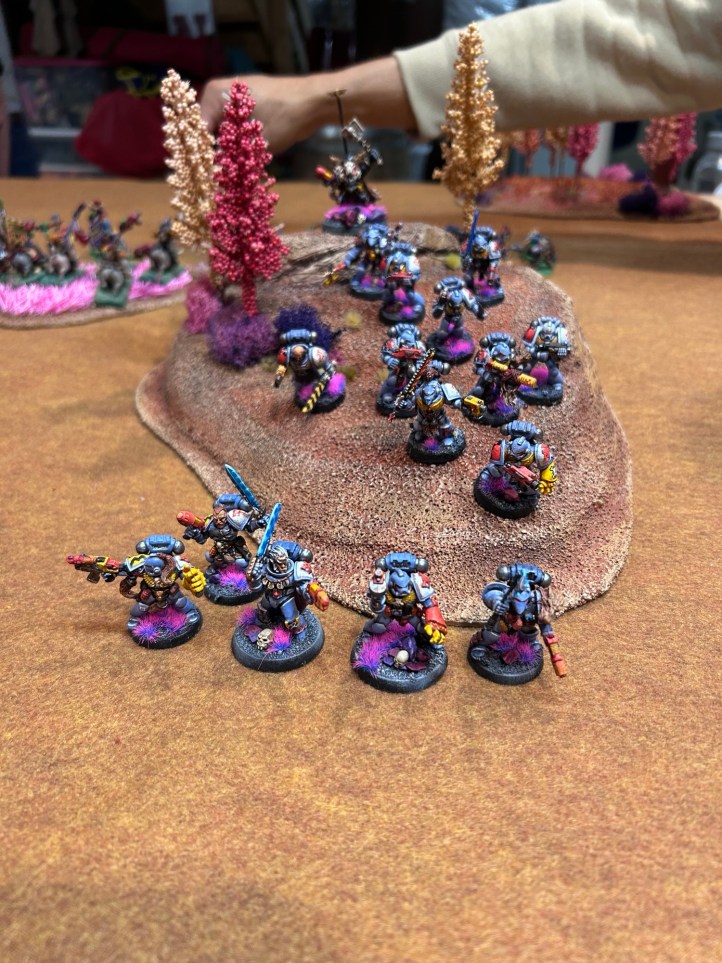
Ulrik The Slayer – Wolf Priest 175 points
Jaurskald’s Hunters – Grey Hunters Pack, Sergeant and 9 Marines, Meltagun, Power Fist x2, Chainsword x2, Power Sword 363 points
Trusted of Jhorghain – Wolf Guard Pack, 5 Wolf Guard, Power Fist x2, Power Sword, Power Axe, Chainsword 200 points
Army Total 738 points
Deacon used his Eldar from Mark VI and Mark VII.
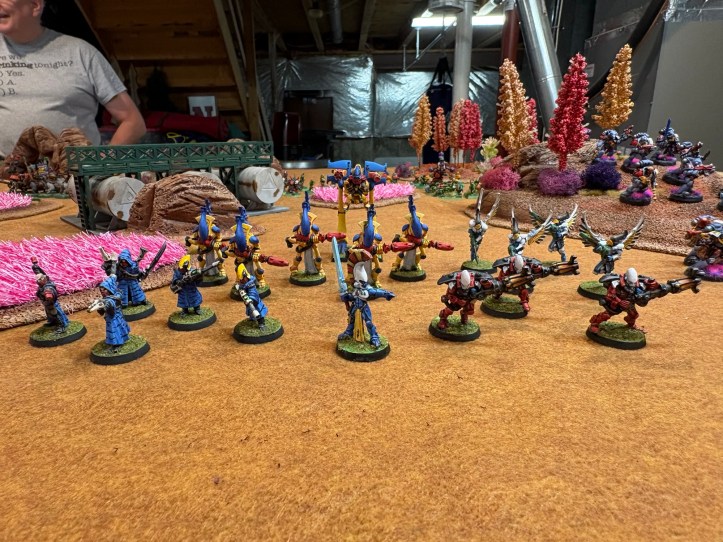
++ Eldar (Codex – Eldar) [745pts] ++
+ Characters +
Exarchs [70pts]: Show Wargear Cards, The Sword of Asur, Tough
+ Squads +
5 Eldar Scouts [115pts]
4 Swooping Hawks [112pts]
3 Warp Spiders [123pts]
5 Wraithguard [175pts]
+ Support +
Eldar War Walker [150pts]: Lascannon, Scatter Laser
++ Total: [745pts] +
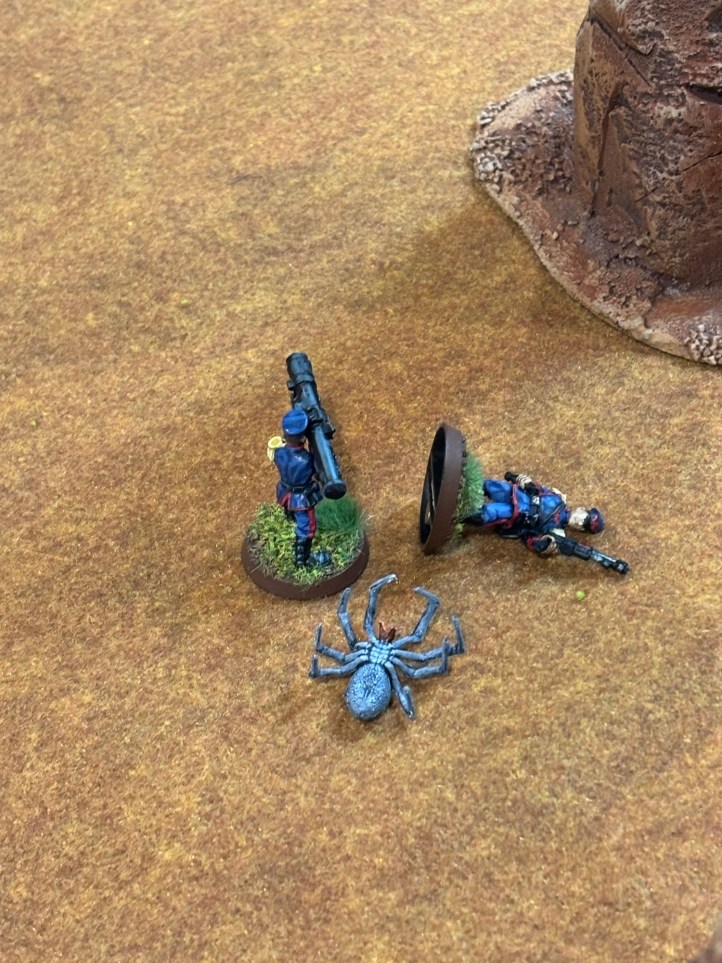
I used my Mordians from Mark VI of the challenge.

Command HQ [141 pts]: Comm-link [30 pts], 2x Flamer [7 pts], Meltagun [6 pts], Army Commander (Army Commander), 4x Guardsman (Flak Armour, Frag Grenade, Lasgun), Captain [91 pts] (Carapace Armour, Show Wargear Cards, Conversion Field [10 pts], Digi-Lasers [6 pts], Laspistol, Sword)
Imperial Guard Heavy Weapons Squad [120 pts] with mortars
Imperial Guard Squad [142 pts]: Sergeant with laspistol and chain sword, Missile Launcher, Grenade Launcher
Imperial Guard Squad [142 pts]: Sergeant with laspistol and chain sword, Missile Launcher, Grenade Launcher
Leman Russ Battle Tank [205 pts]: Battlecannon (Targeter), Lascannon (Targeter), Heavy Bolter (Targeter)
PygmyHippo played his Chaos Space Marines from the current challenge, Mark VII.
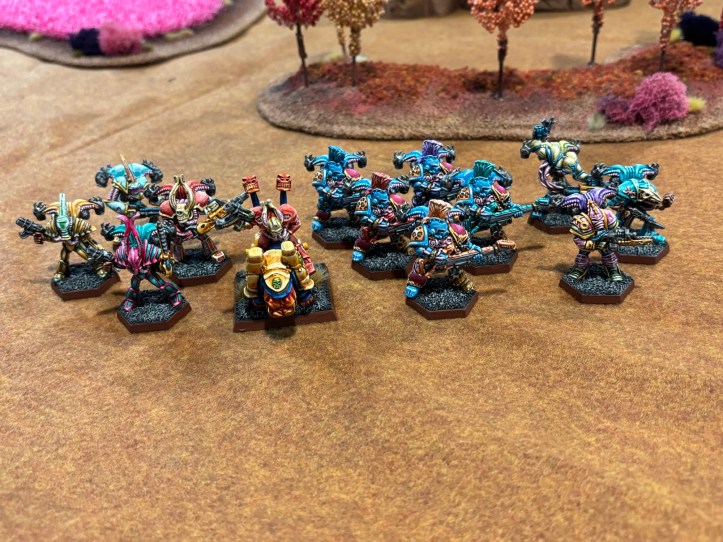
Chaos Lord [195pts]
Selections: Army Commander, Boltgun [3pts], Conversion Field [10pts], Haywire Grenade [10pts], Juggernaut of Khorne [50pts], Mark of Khorne [30pts], Power Armour, Show Wargear Cards, Sword [1pts]
Chaos Space Marine Squad [159pts]
Selections: 4x Boltgun [12pts], 4x Chaos Marine [100pts], Heavy Bolter [12pts], Missile Launcher with Frag and Krak Missiles [35pts], Power Armour
Noise Marines [200pts]
Selections: Mark of Slaanesh, 5x Noise Marines [150pts], Power Armour, 5x Sonic Blaster [50pts]
Veteran Chaos Space Marine Squad [179pts]
Selections: 3x Boltgun [9pts], Chainsword [2pts], Heavy Bolter [12pts], Krak Grenade [9pts], Missile Launcher with Frag and Krak Missiles [35pts], Power Armour, Power Axe [7pts], 3x Veteran Chaos Marine [105pts]
We had two friends from the gaming group who wanted to play so they each pushed Orks painted by Jon and PygmyHippo during previous challenges. This was the army provided by Jon.
War boss on a cyboar
Snake bite mob on boars
Death skull mob with heavy bolters
Mek with shock attack gun
Snotlings
Gretchin mob
Golf mob with two nobs
PygmyHippos Orks:

Characters [168pts]
Mekaniak [43pts]
Selections: Bolt Pistol, Flak Armour, Shokk Attack Gun [25pts]
Zodgrod Wortsnagga Runtherd [65pts]
Selections: Bolt Pistol, Flak Armour
Warboss [100pts]
Selections: Army Commander, Bolt Pistol, Conversion Field [10pts], Meltagun [6pts], Ork ‘Eavy Armour [7pts], Power Fist [10pts], Show Wargear Cards, Targeter [2pts]
Mobs [362pts]
Blood Axe Kommando Mob [181pts]
Selections: 6x Blood Axe Kommando [84pts], 6x Bolt Pistol [12pts], Flak Armour, Frag Stikkbombz, Heavy Plasma
Goff Boyz Mob [96pts]
Selections: Axe, Bolt Pistol, Flak Armour, Frag Stikkbombz, 8x Goff Boyz Mob [96pts]
Combat
Gretchin Mobs [70pts]
Selections: Autogun, Flak Armour, 10x Gretchin Mobs [50pts]
Snotling Herd [15pts]
Selections: 3x Snotlings [15pts]
Support [220pts]
Ork War Buggy [50pts]
Selections: Heavy Plasma Gun [5pts]
Ork War Buggy [50pts]
Selections: Heavy Plasma Gun [5pts]
Ork Wartrak [60pts]
Selections: Lascannon [10pts]
Ork Wartrak [60pts]
Selections: Lascannon [10pts]
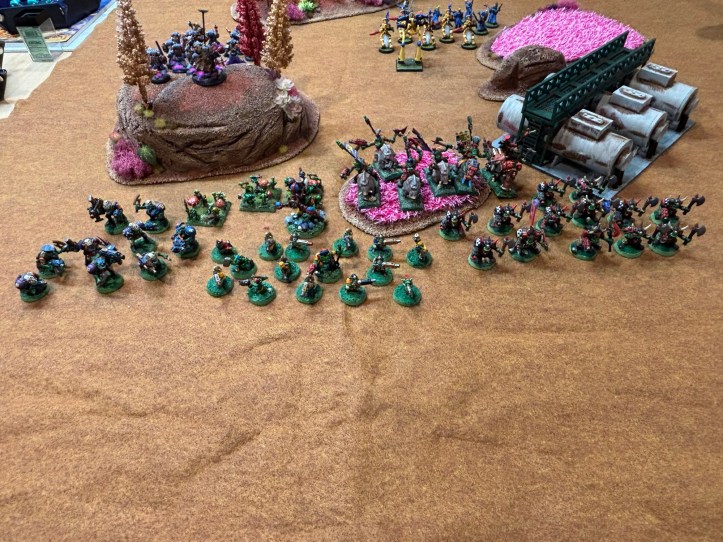
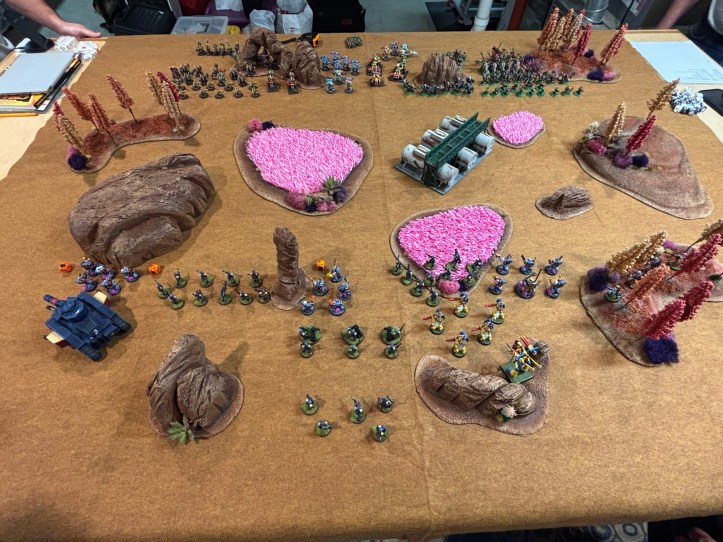
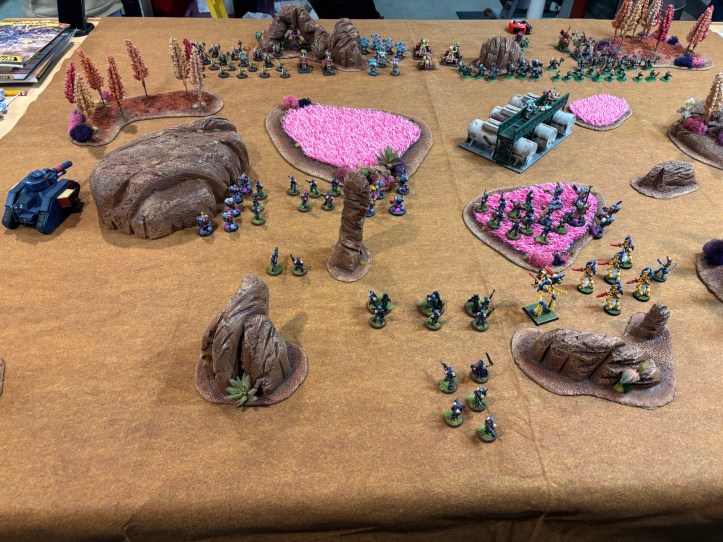
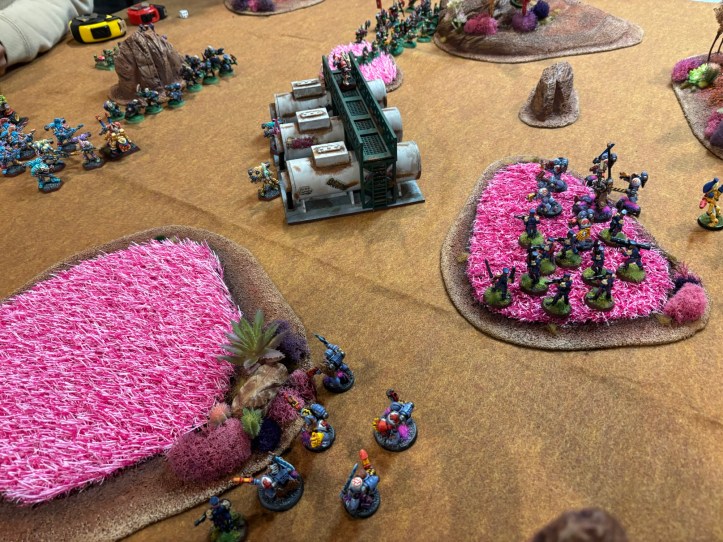
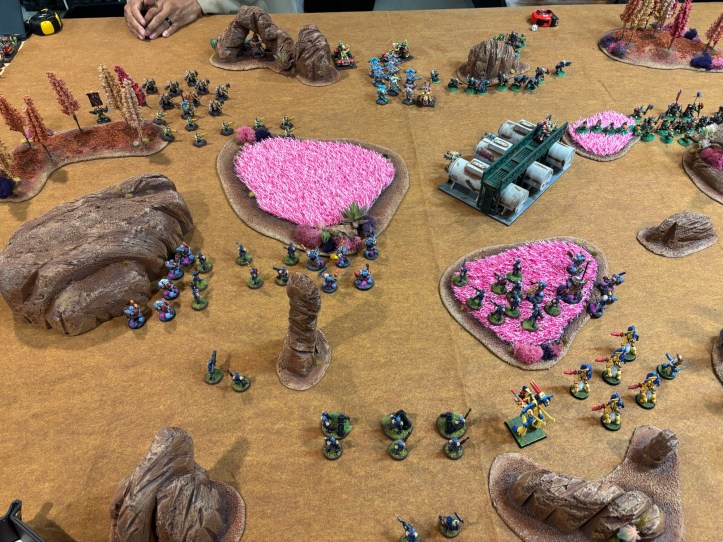
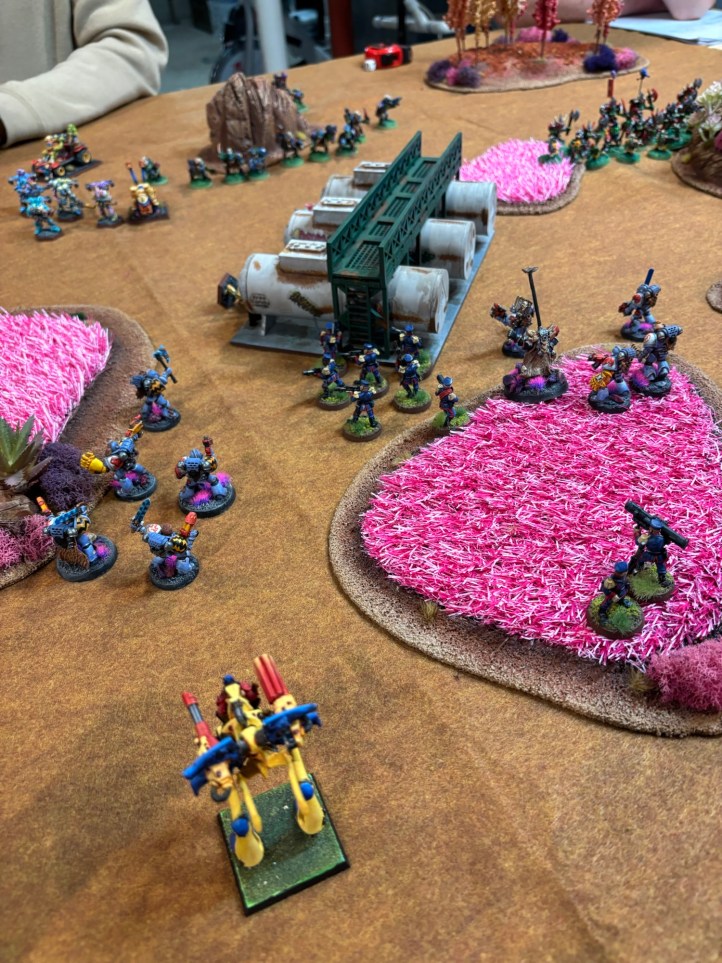
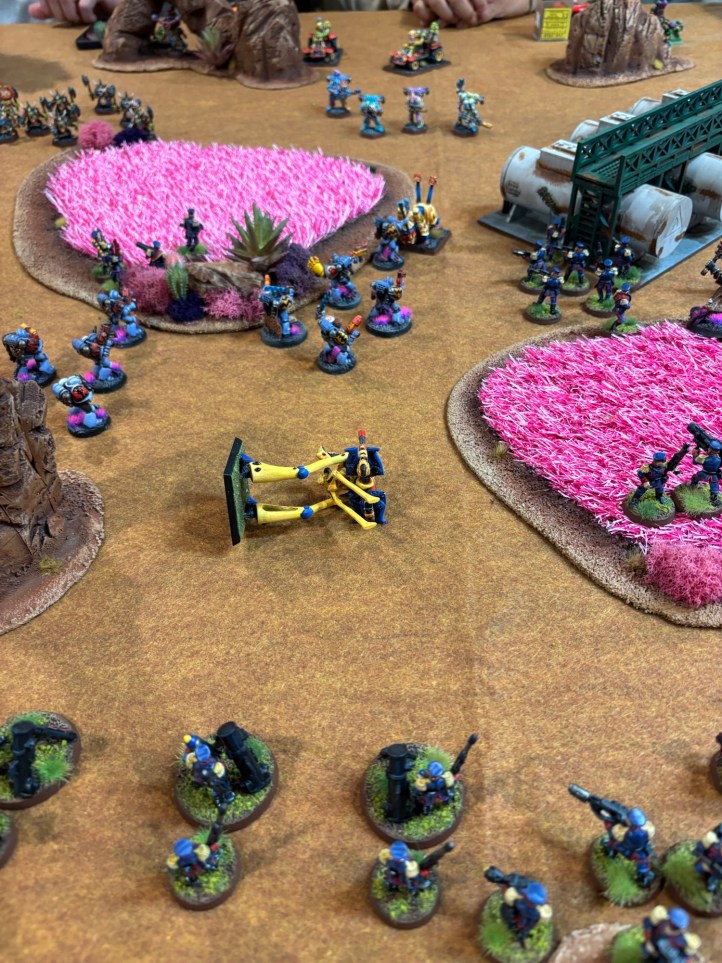
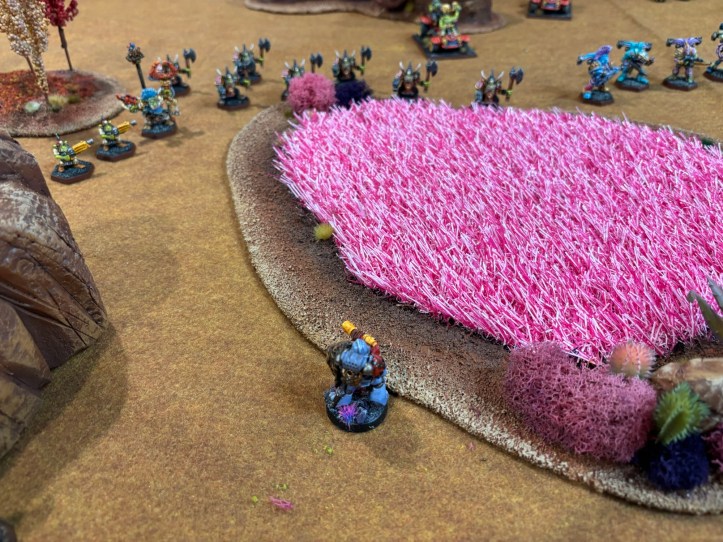
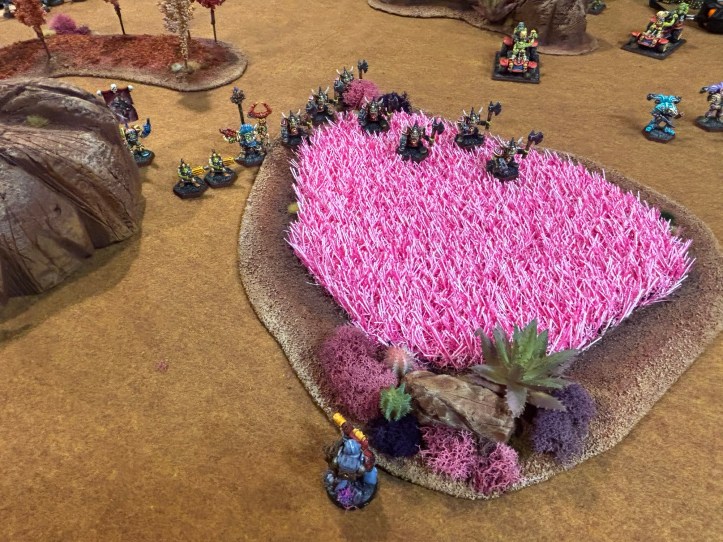
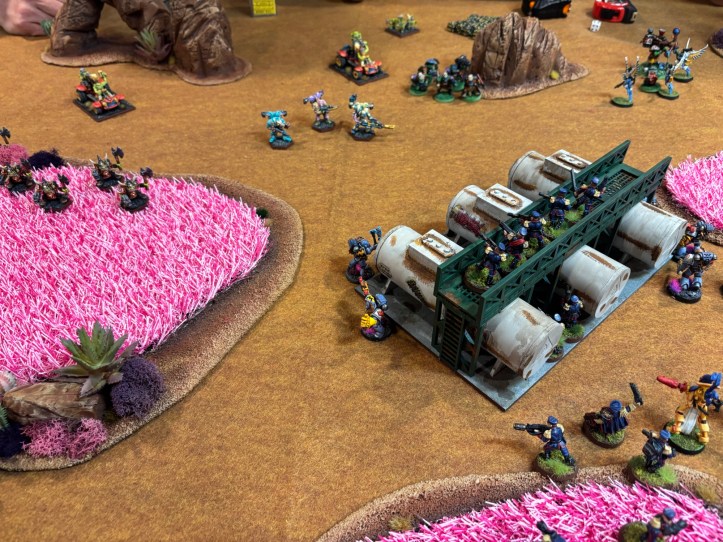
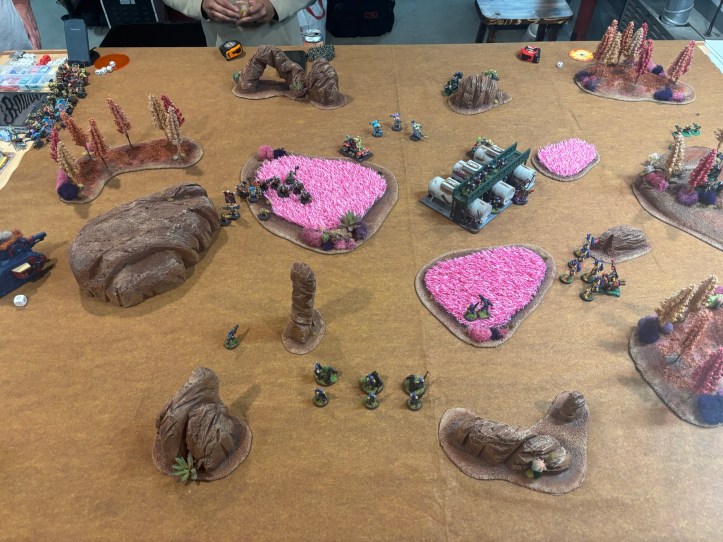
The table at the start of the game. Everything except the distillery at the center of the table was made by PygmyHippo and finished the night before the game!
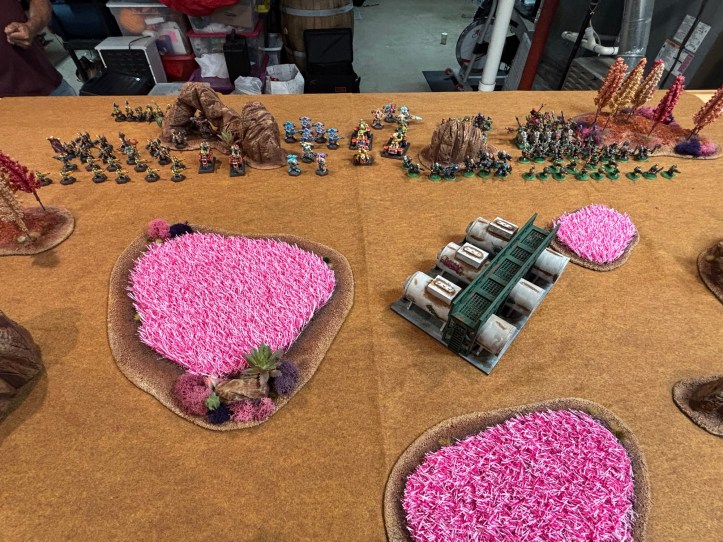
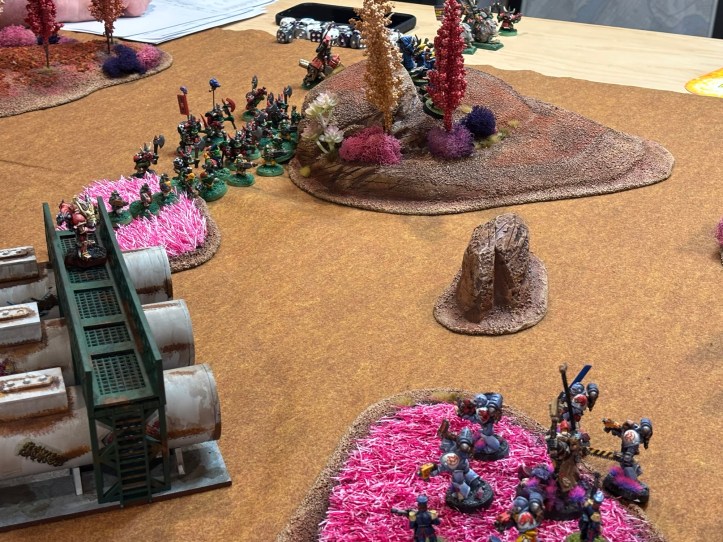
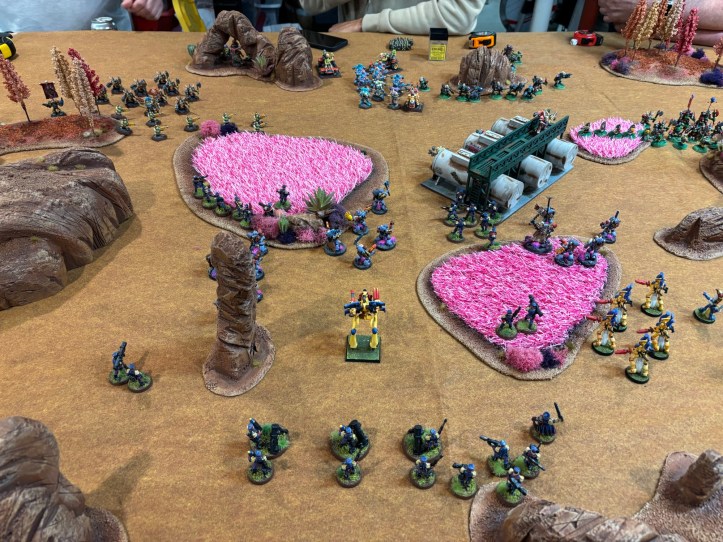
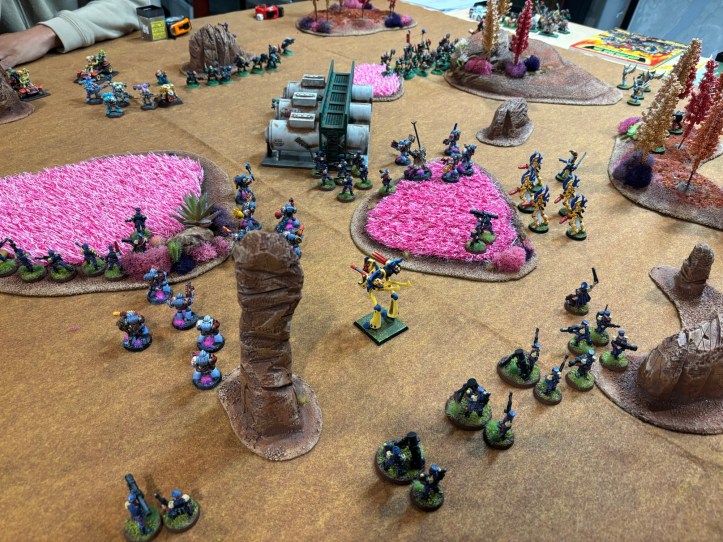
The table at the start of Turn 1.
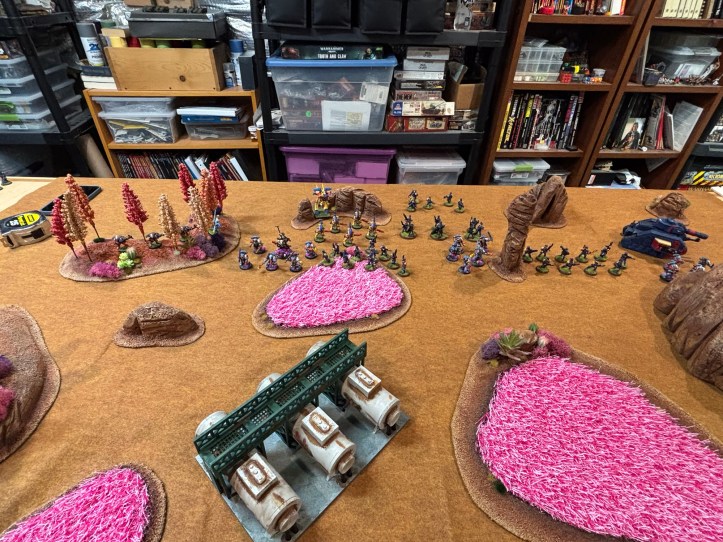
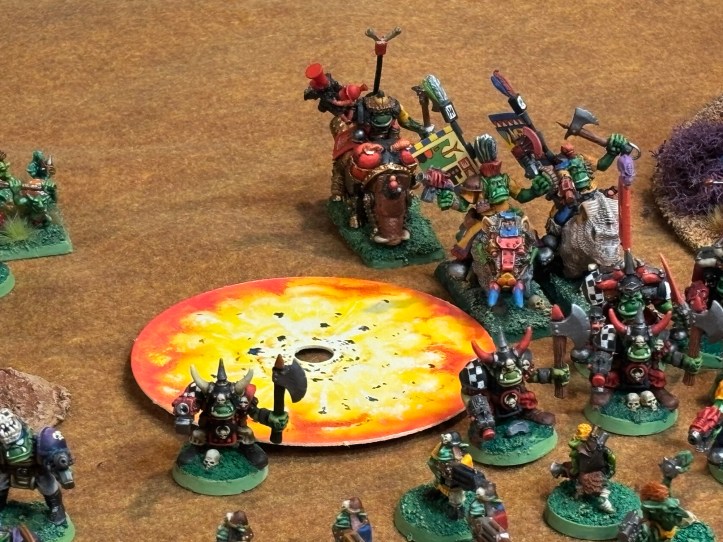
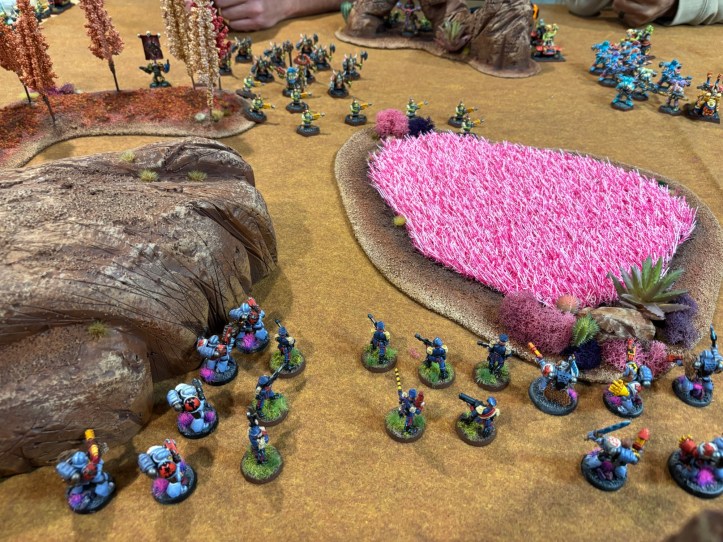
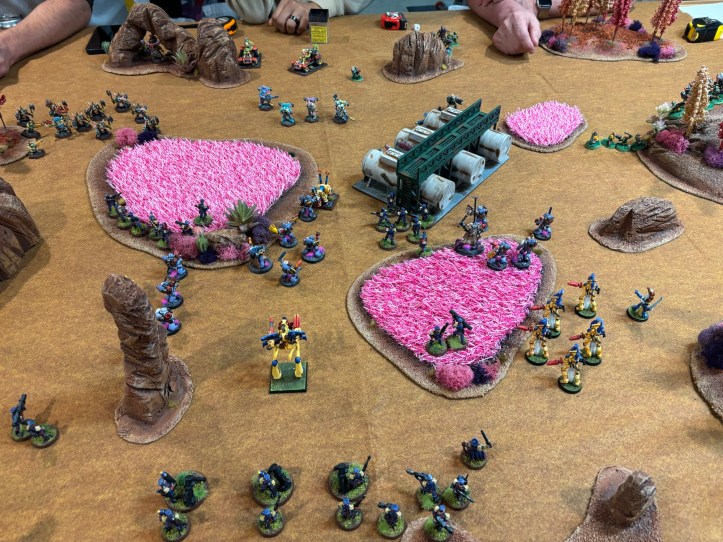
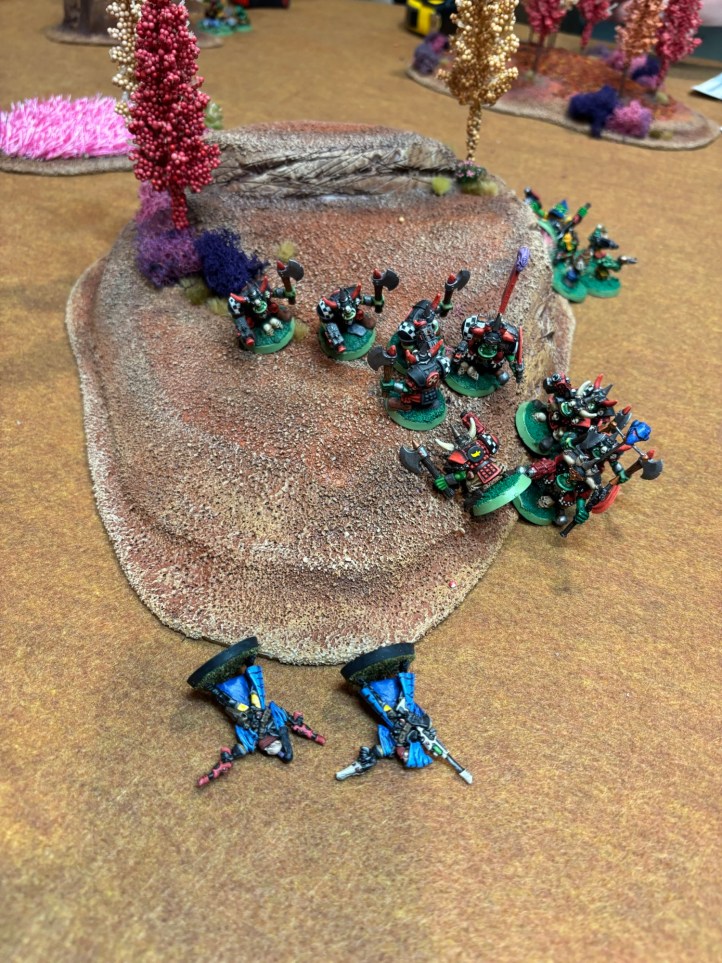
A closer up of the Chaos and Ork lines.
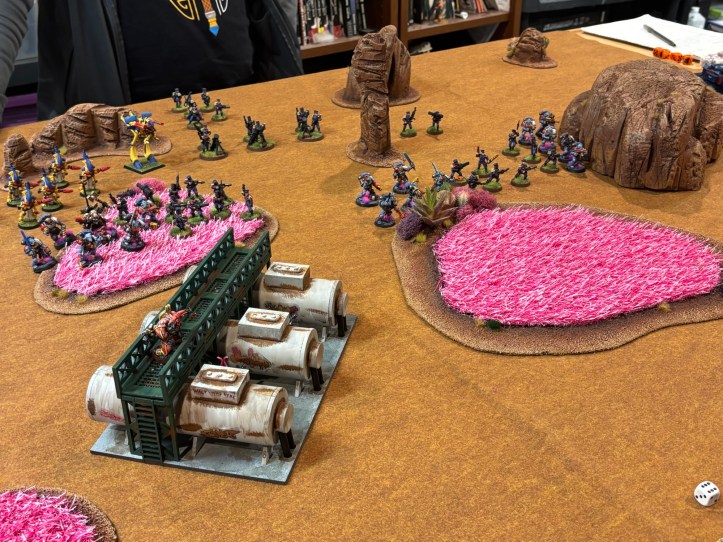
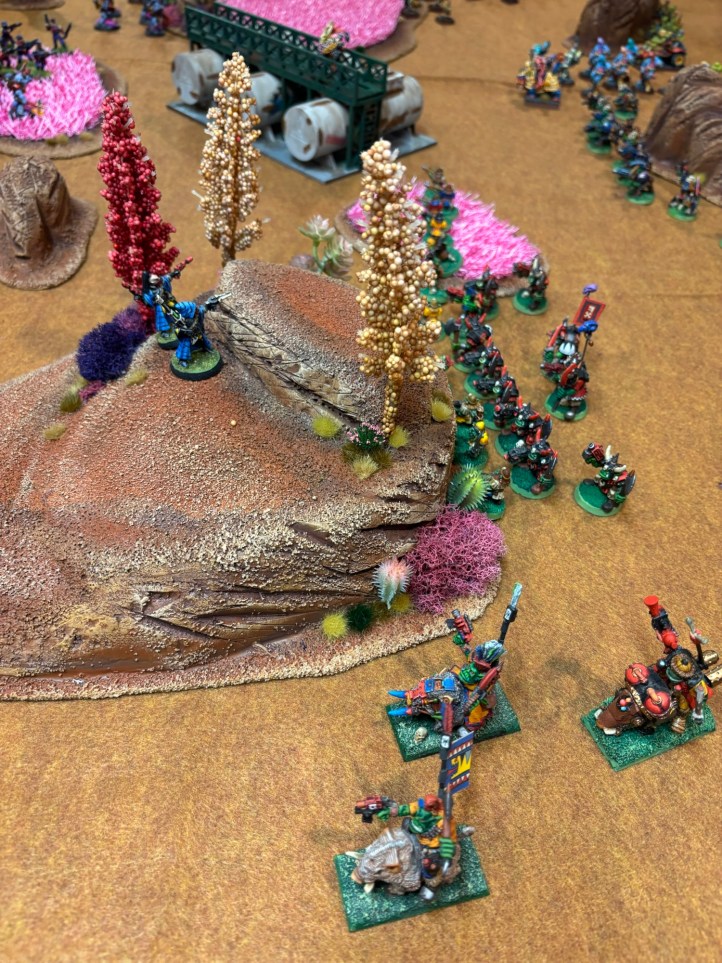
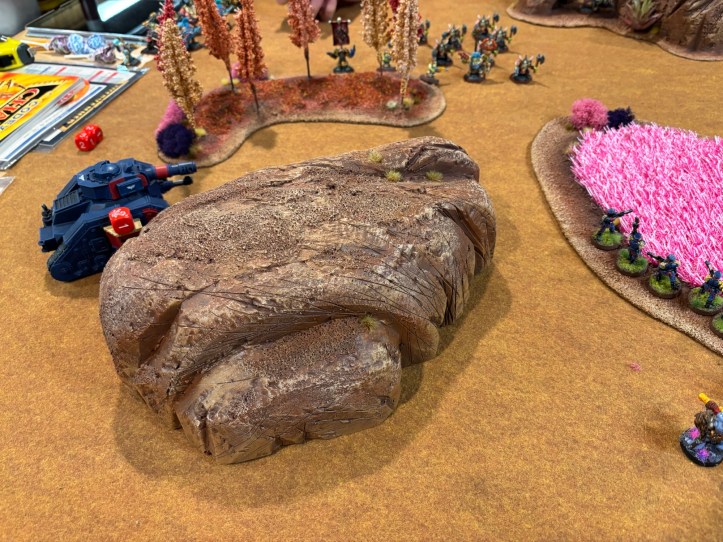
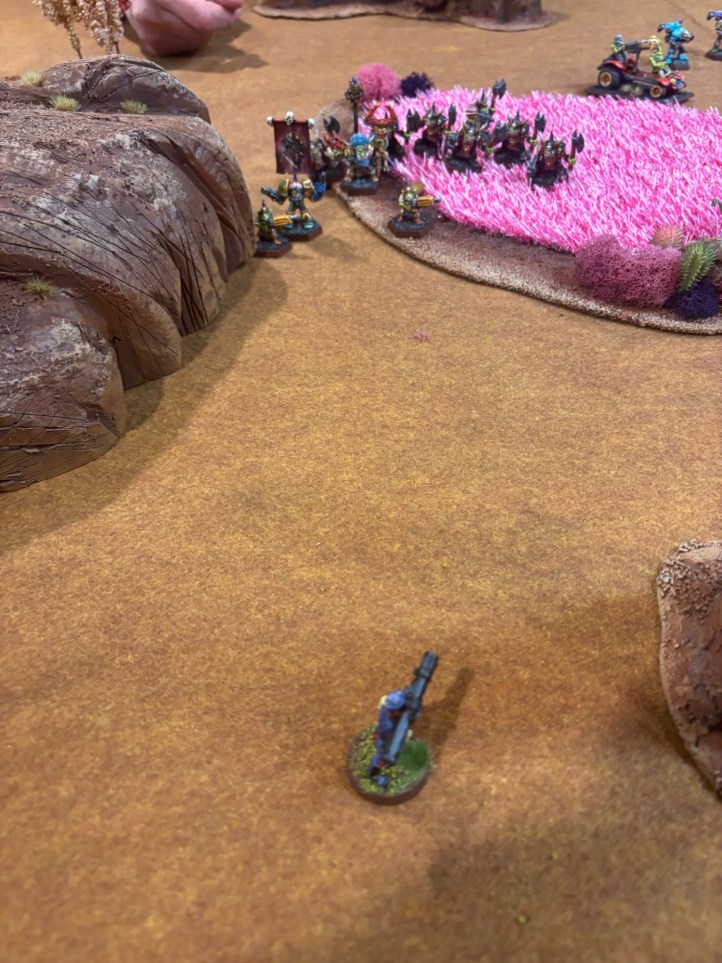
The Allies initial set up.
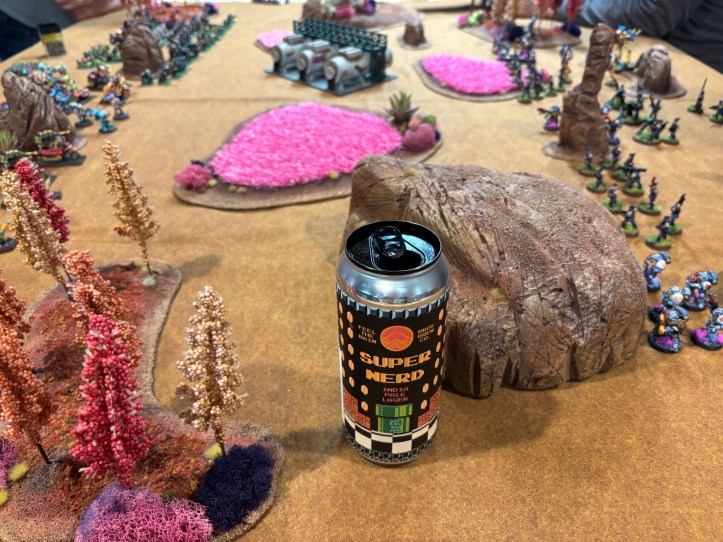
My buddy brought some beer, could there be a more appropriate name?
As always the Imperial Guard started the game with a preliminary bombardment. With only one Leman Russ Higher Command only allocated one barrage but it was a good one! Landing in the center of the Ork lines it killed 3 boyz and 3 boarboyz! Unfortunately, the static interference was high and the Guard would need to roll a 6+ to call in further barrages later in the game. I’ll save you the effort of scrolling, it never happened!
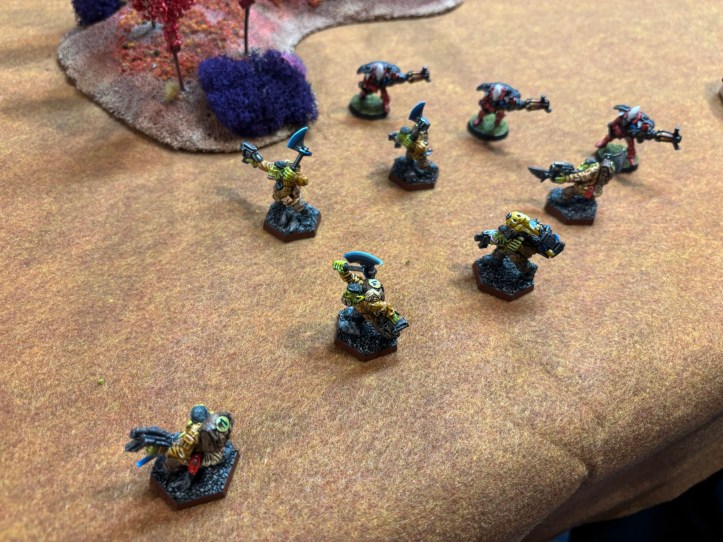
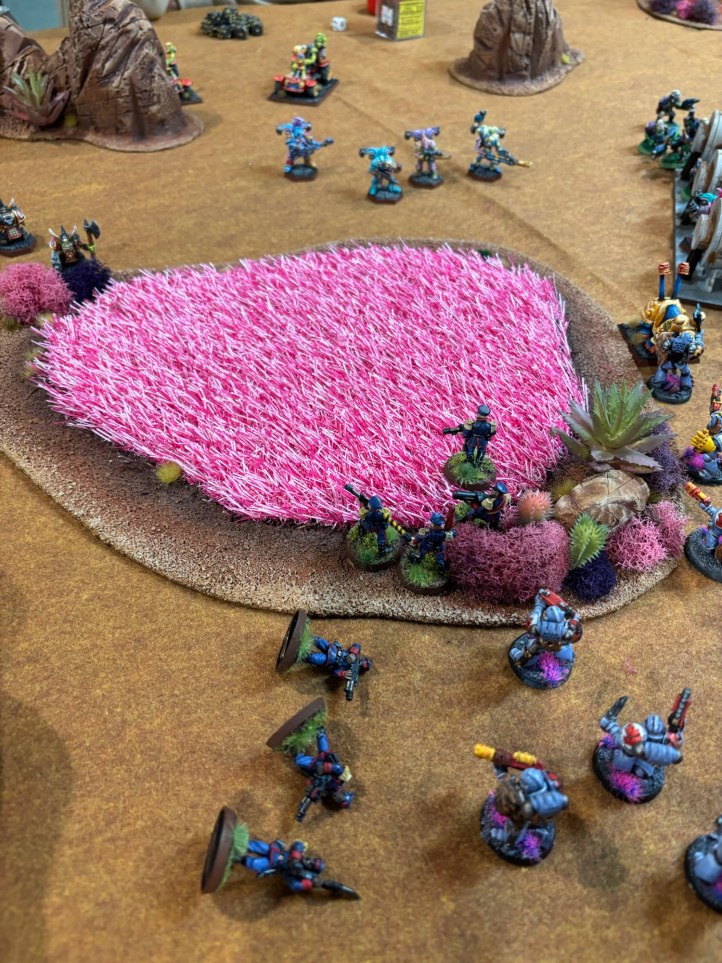
The Allies won the first turn and so the Warp Spiders teleported into the back line to try and clear out the Blood Axe infiltrators.
The Allies took a general advance across the board moving out and up to take the distillery. You can see the forces of Chaos didn’t leave the sneakiness to their Ork minions as the Veterans set up within the distillery. There would be a close range firefight real soon!
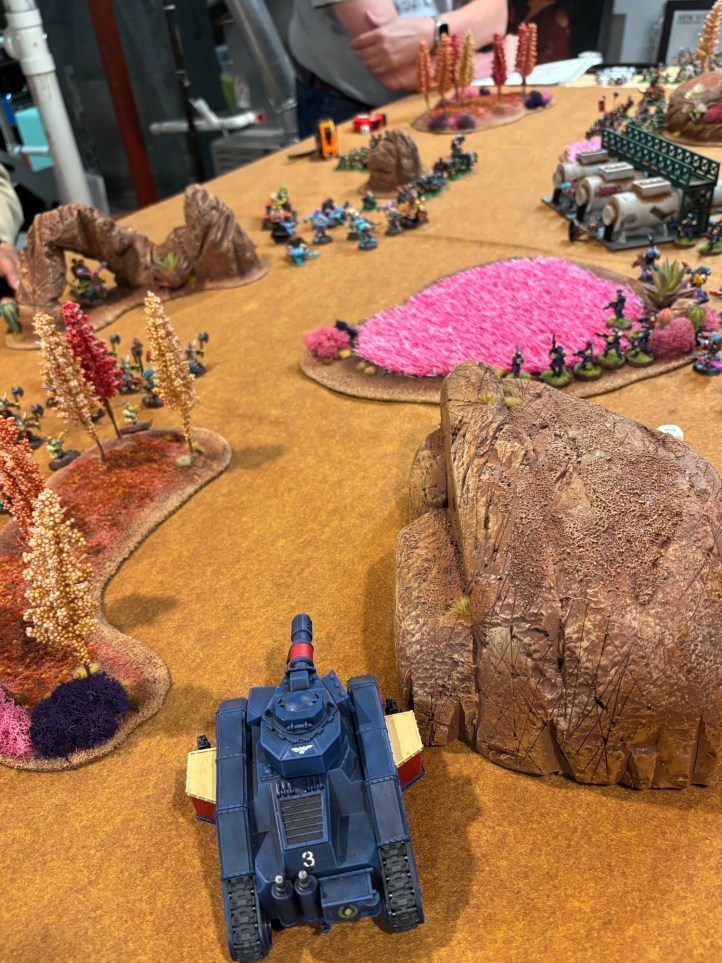
The Leman Russ opened up on the Wartrakks and killed the lascannon gunner on one, and caused the other to go out of control next turn.
The Warpspiders made short work of the Blood Axe Commandos who realized maybe they weren’t quite as sneaky as they thought they were right before the mono-filament wire tore through their bodies.
The War Walker opened fire on the wounded wartrakks and in a flurry of high rolls destroyed both of the damaged machines!
The Chaos and Ork view at the start of their first turn.
The Super Gretchin advance after taking minimal casualties and saving their bigger cousins from taking fire.
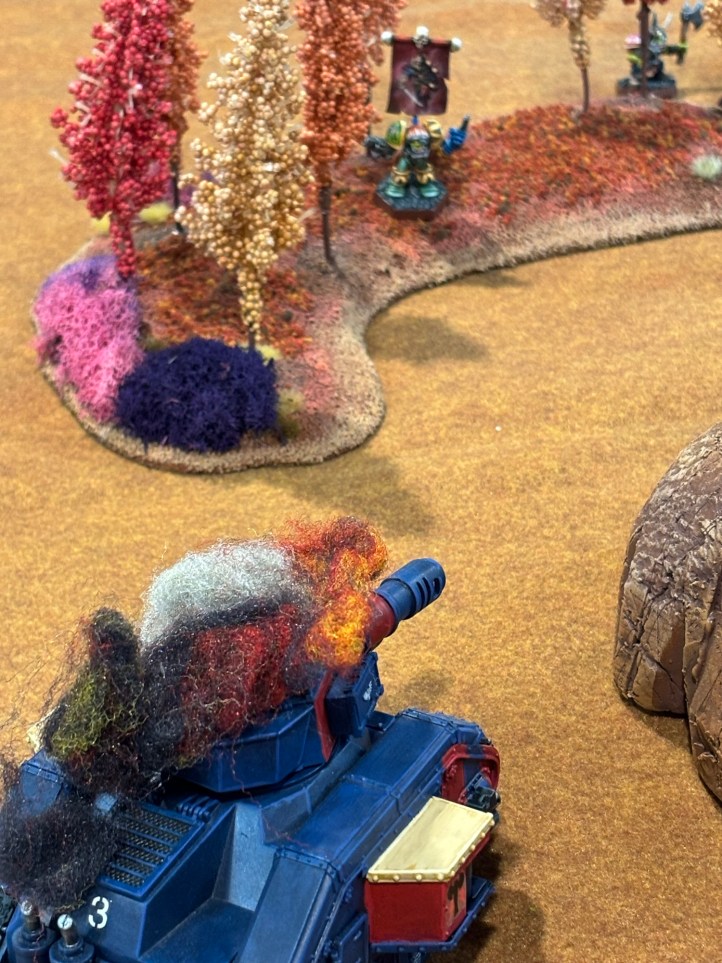
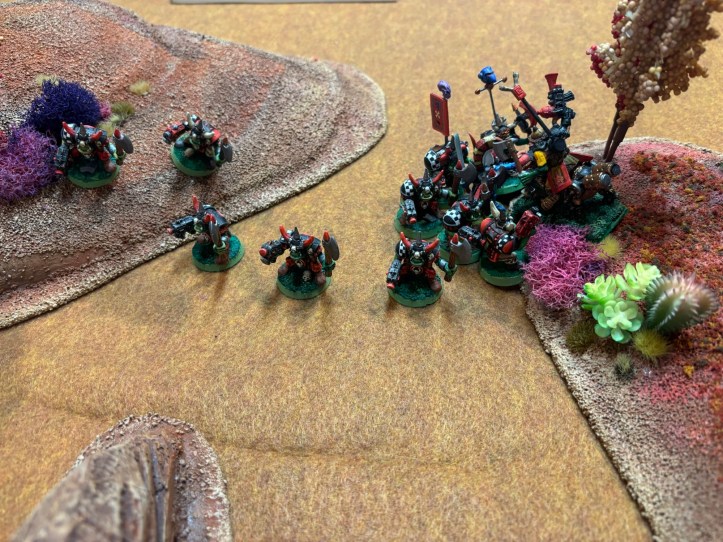
Da Boysz and the Chaos units advance on the distillery to reinforce the bold Veteran Chaos Marines. The Chaos lord showed his men how it was done and picked off a Guardsman in the center Butorg field.
That’s a lot of Orks, the Allies better start getting rounds on target!
The surviving Boar Boyz lead the sweep around the Allies Right flank as one of the Shokk attack guns killed three of the defending scouts!
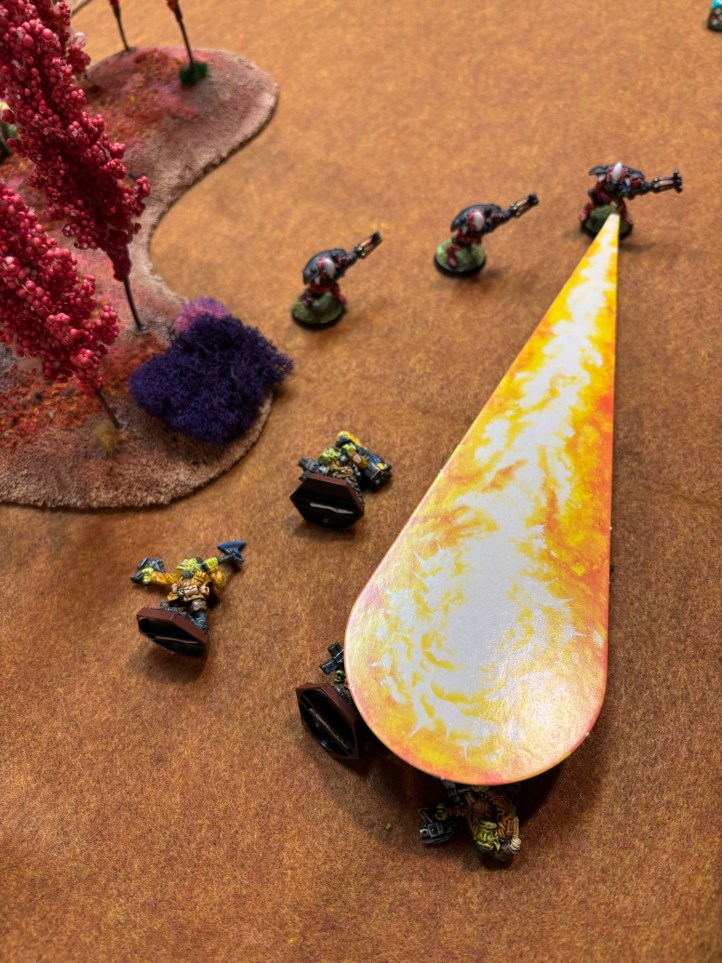
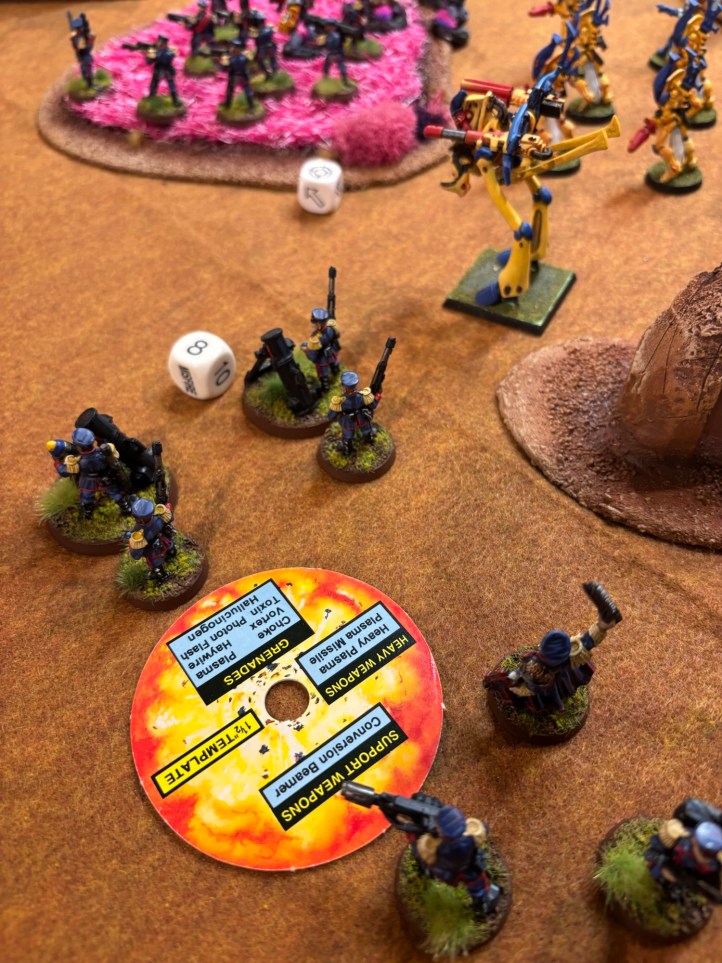
A shot from an Ork War buggies Plasma Gun missed and scattered onto the mortar squad, or rather improbably between the mortar squad and the command squad! The Mordians would be repairing heat scorched uniforms if they survived the battle! The War Walker was hit by a Shokk Attack Gun but it got lucky as it took no immediate damage. In future turns though it would explode on a 6+! The War Walker was hit by another Plasma Gun but the blast failed to penetrate its armor.
The start of Turn 2, things were getting hot!
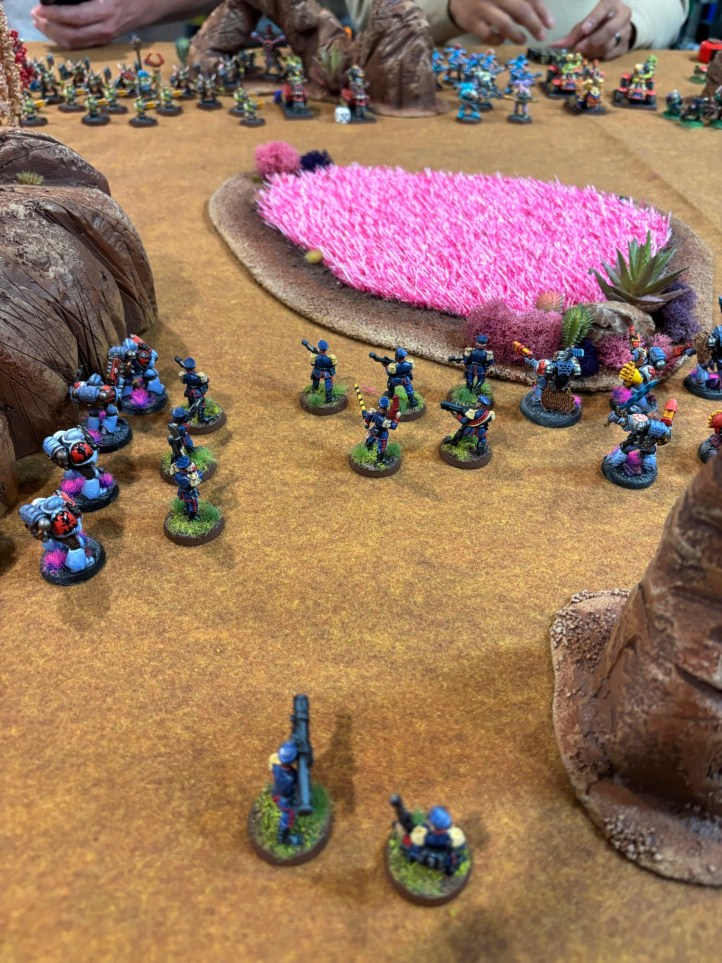
Across the board the Allies continued their advance, swinging most of the Imperial Guard towards the distillery.
Last turn a bad mortar guess led to a scatter onto a pair of Chaos Marines who both made their save, this turn their Chaos Gods were not protecting them as a mortar shell scattered directly onto one of the Chaos Veterans killing him!
The Leman Russ opened fire on the Ork and Chaos lines. Due to it’s restricted field of fire it was allowed to shoot at some juicy targets after mowing down 6 gretchin. With its path clear it was able to kill three of the Chaos Noise Marines near the Warlord and one of the Veterans in the Distillery, but jamming the Heavy Bolter in the sponson.
Not to be outdone the War Walker opened fire and was able to kill three gretchin and with a lucky shot from the lascannon was able to pick off the Chaos Lord from his faithful juggernaut!
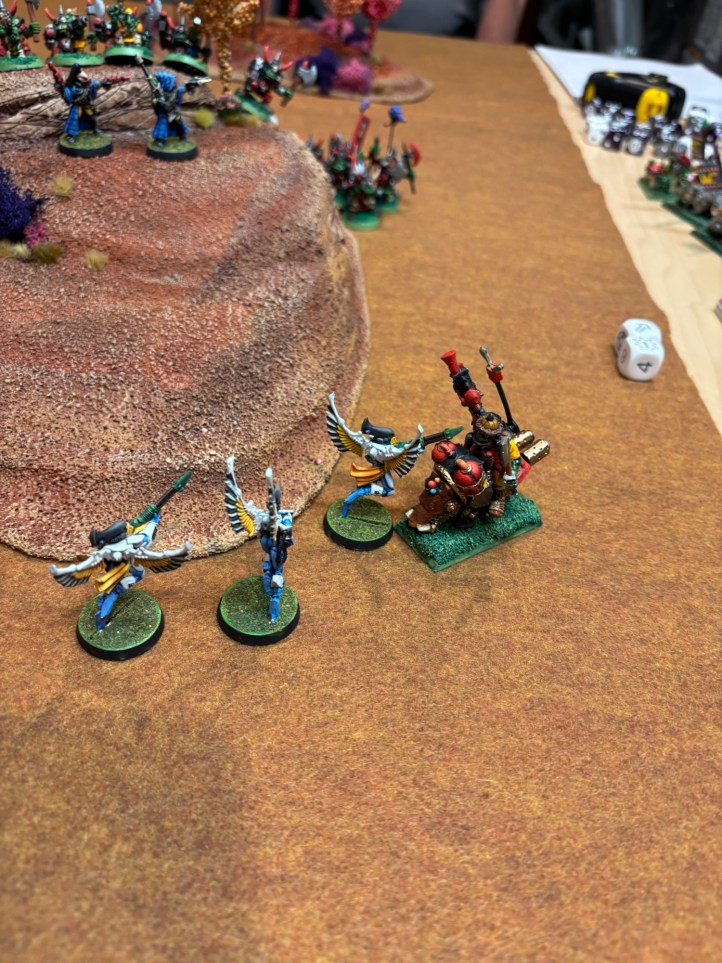
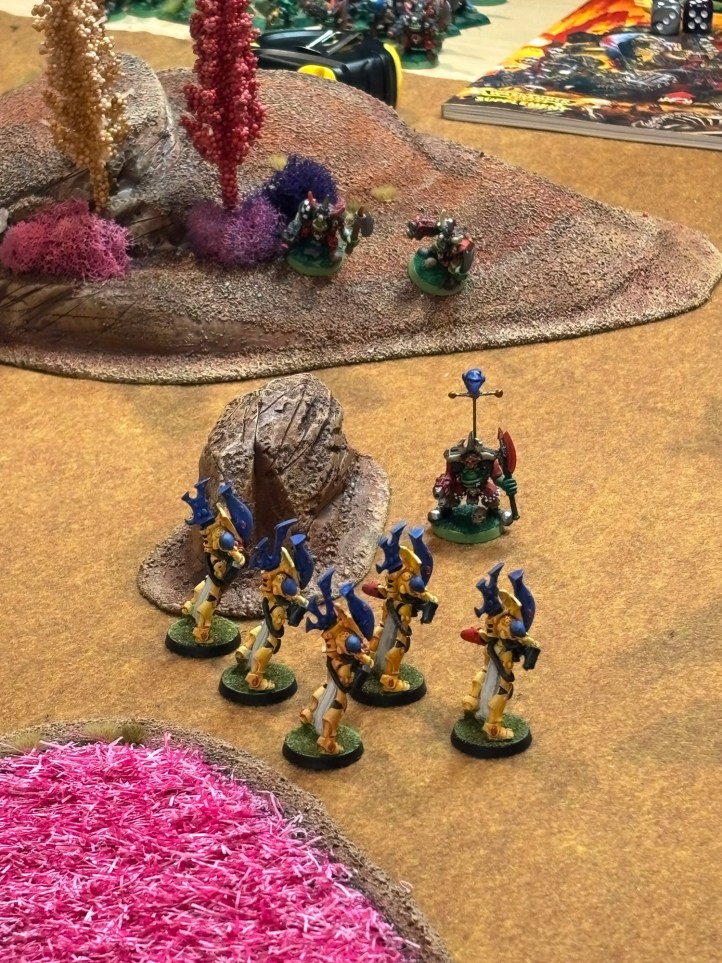
Not to be outdone the Space Wolf Grey Hunters picked off the Chaos Veteran on top of the distillery opening the building up to an attack by the Imperial Guard. Lets see if the well dressed soldiery of Mordian can outshine the Space Wolves in an assault! On the far right flank of the Allied lines the Swooping Hawks and the Scouts finished off the last of the Boarboyz, but da boss and his Cyberboar still lived!
The Orks on the Allies left flank are looking a lot thinner than at the beginning of the game!
Taking loses the Chaos forces and their allies knew they needed to continue their advance into close combat or they would be cut down by the massed fire of the Allies. The Juggernaut charged the Space Wolf Wolf Guard but in it’s frenzy was unable to kill any of the grey clad veterans! After the excitement of killing some Scouts last turn the Ork Mechboy must have misloaded his Snotling ammo as the weapon misfired, but luckily for the Orks it only lost one stand of snotlings to the warp!
In the center of the board the Chaos Space Marines opened fire on the Guardsmen in the Butorg fields felling three of them.
One of the Warbuggies opened fire with its plasma gun at the Leman Russ and missed, but the second one put the War Walker out of its snotling addled misery destroying it outright!
Not to be outdone the Orks on the other flank killed two Guardsman from the unit behind the field killing two of them, dropping the unit to the two advanced guard, and the detached missile launcher team!
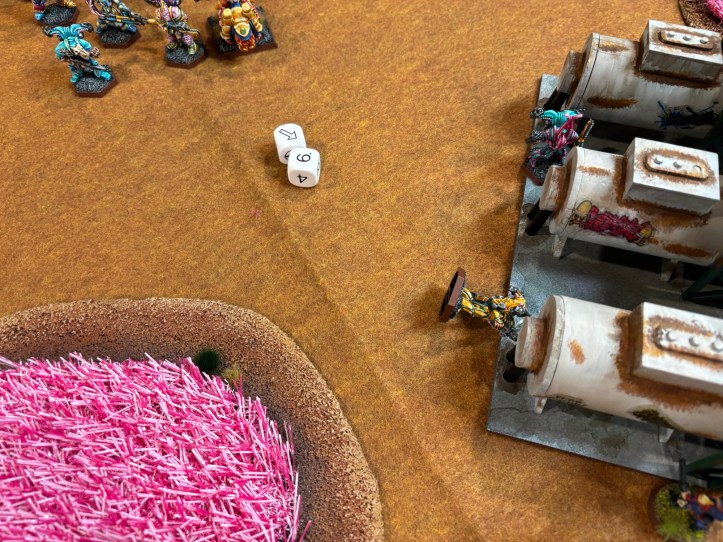
Knowing if you need a job done you better just do it yourself the Ork boss in Mega Armor snuck through the woods and with a well aimed and planned (ie lucky) shot blew the tread off the Leman Russ causing it to flip over and explode!
If this action hadn’t occurred on the far side of the field from the other Boss the Boss on Cyboar would clearly be turning red with embarrassment as he was only able to kill a single Swooping Hawk!
In the Allied third turn the Blood Claws surrounded the Juggernaut and tore it apart in a rain of close combat attacks! The metal beast held on until the very end taking the last of the Wolf Guard to finish the job! Off camera one of the Shokk attack guns was destroyed by an Imperial Guard squads missile launcher, and the Swooping Haws flew high to get away from the rampaging Cyboar!
In the Orks third turn the surviving Shokk attack gun fired its last round of ammunition at the Space Wolves Grey Hunters killing one of the battle brothers in a tide of diminutive foes!
Between the Chaos Marines shooting down one of the Wolf Guard, and the Ork Plasma Cannon killing another two the Wolf Guard were in bad shape!
The Grey Hunters guarding the left flank lost two of their members to Ork plasma, and then had the ignominy of losing two more to Ork bolt pistols. Oh the horror! The All Father would not be happy with this result!
The Ork Goffs were finally able to outflank and destroy the remaining two Eldar Scouts. The sold their lives delaying the Ork flanking action, time would tell if they held on long enough!
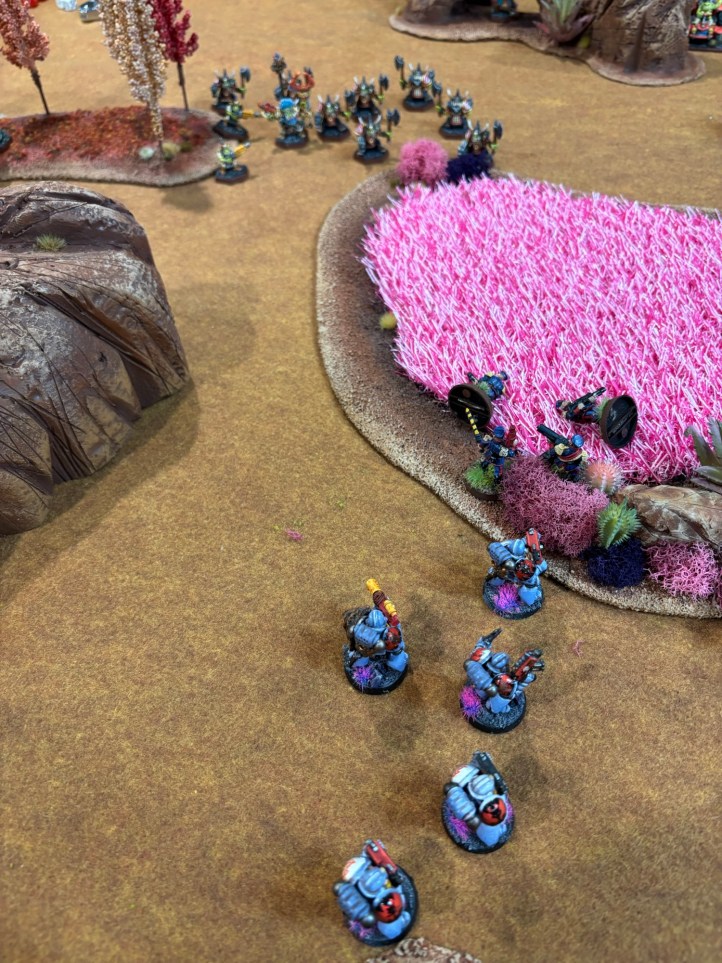
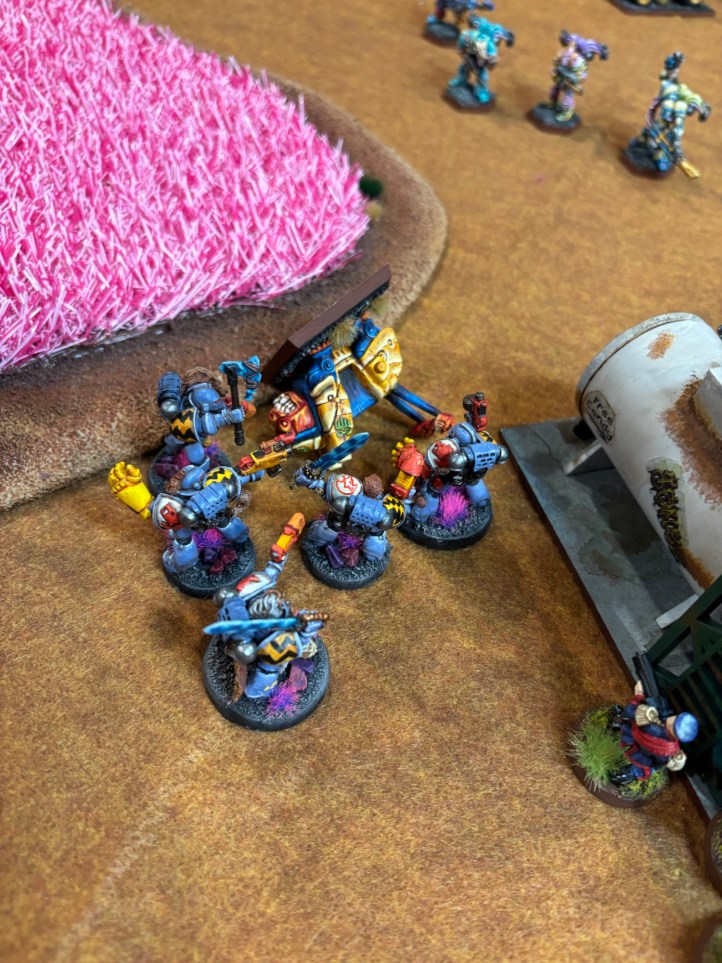
At the start of the Allied turn the Mordian Sergeant who had bravely clambered on top of the distilleries gang way charged an Ork with a heavy weapon and cut him down! For the emperor! I must have got very excited about this charge because I didn’t take any other pictures of this half of the turn, but there was more action. The Mordians killed the remaining Noise Marine from the unit of five, the Wolf Guard killed off the remaining Chaos Space Marine Veteran in the distillery, and the Unit of Space Wolves near the distillery opened fire on a unit of Orks, killed two, and caused the rest to panic and run!

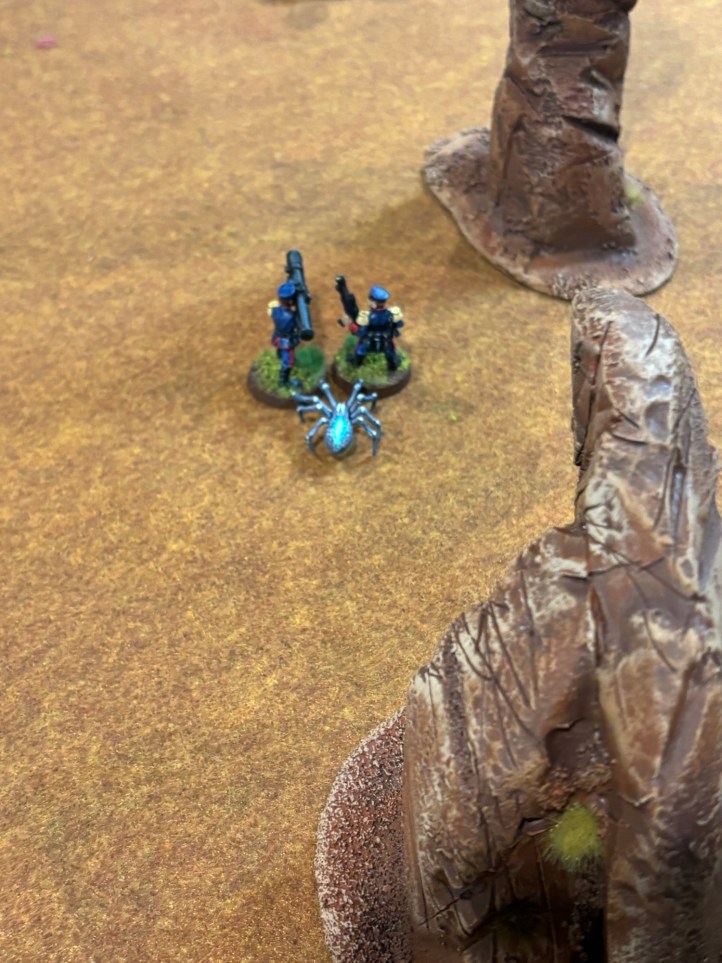
At the beginning of the Ork and Chaos turn we got our first spider to pop out of a random field and naturally it came out against the Imperial Guard and promptly charged the Missile launcher team in the back field!
Somewhere in that press of Orks is the Eldar Exarch!
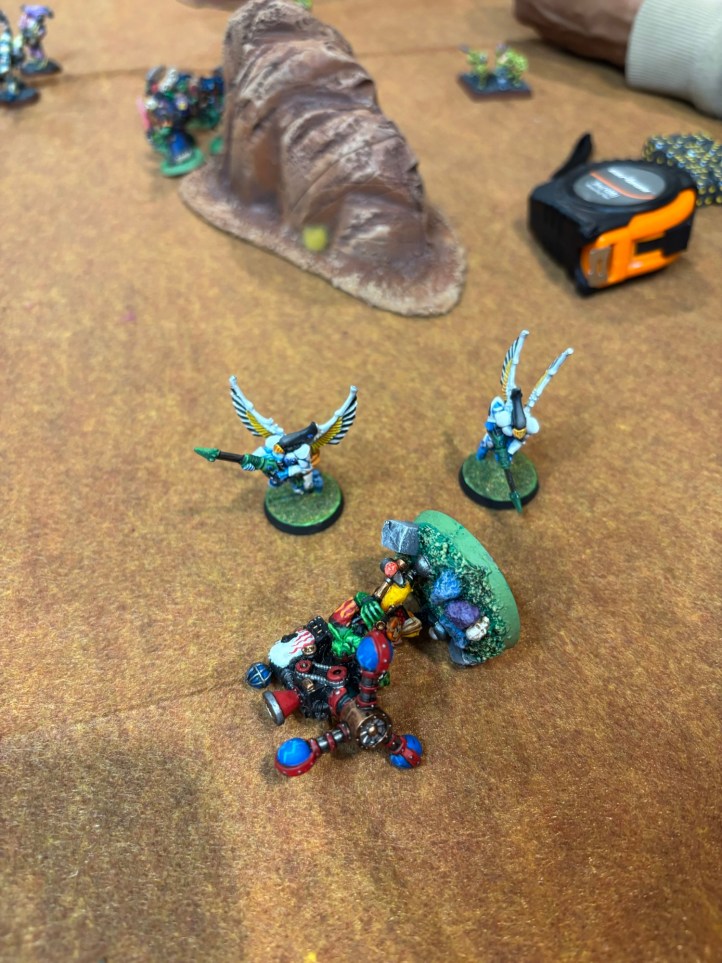
The Swooping Hawks tried shooting down the Mech with Shokk attack gun last turn and failed to do so. The mech, not having any ammo left, charged the Swooping Hawks with his ammo run in tow!

The Ork line opened fire on the remaining Space Wolf with his trust melta gun, but the weight of fire was too much and he went down.
The Mordians look down at their enemies from the cover of the gangway with contempt.
The Orks killed the Exarch, but not before he killed three of the greenskins in close combat!

The Goffs high water mark as the Wraith Guard fire into their ranks killing three, scattering two, and panicking the rest of the unit!
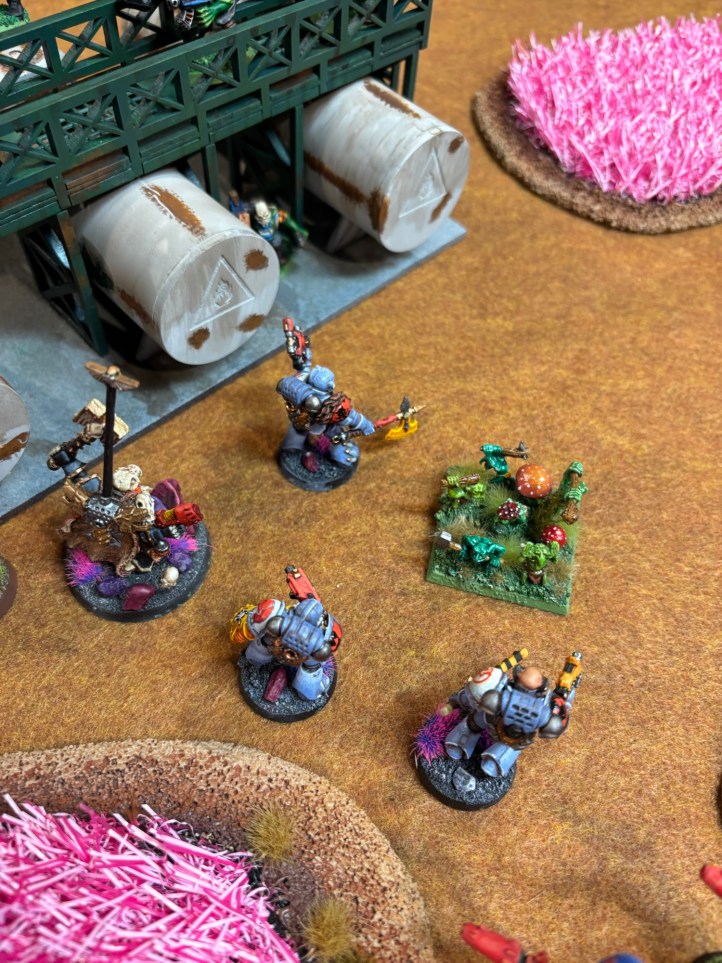
The Swooping Hawks were able to kill the Mechboy in close combat. They should have tried that last turn instead of attempting to shoot him! Meanwhile the rest of the Allied army consolidated on the distillery.
The long awaited spider which failed to do anything last turn took down the missile launcher loader but was bashed to death by the gunner wielding his tube like a hand to hand weapon!
In the final Chaos and Ork turn the Orks were able to shoot the sergeant and last trooper from the unit on the left flank, leaving just the missile launcher guardsman left alive to tell the tale!
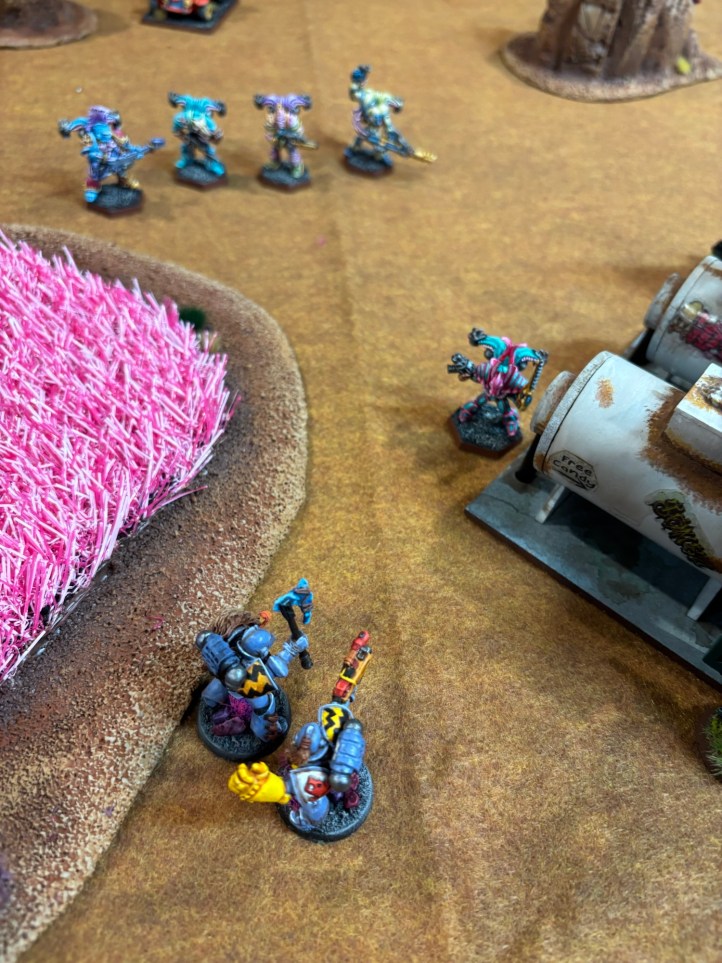
The Swooping Hawks that were now standing in the middle of the board were gunned down.
In a last desperate attempt to contest the distillery the Ork buggy raced forward and was able to get a wheel on the platform.
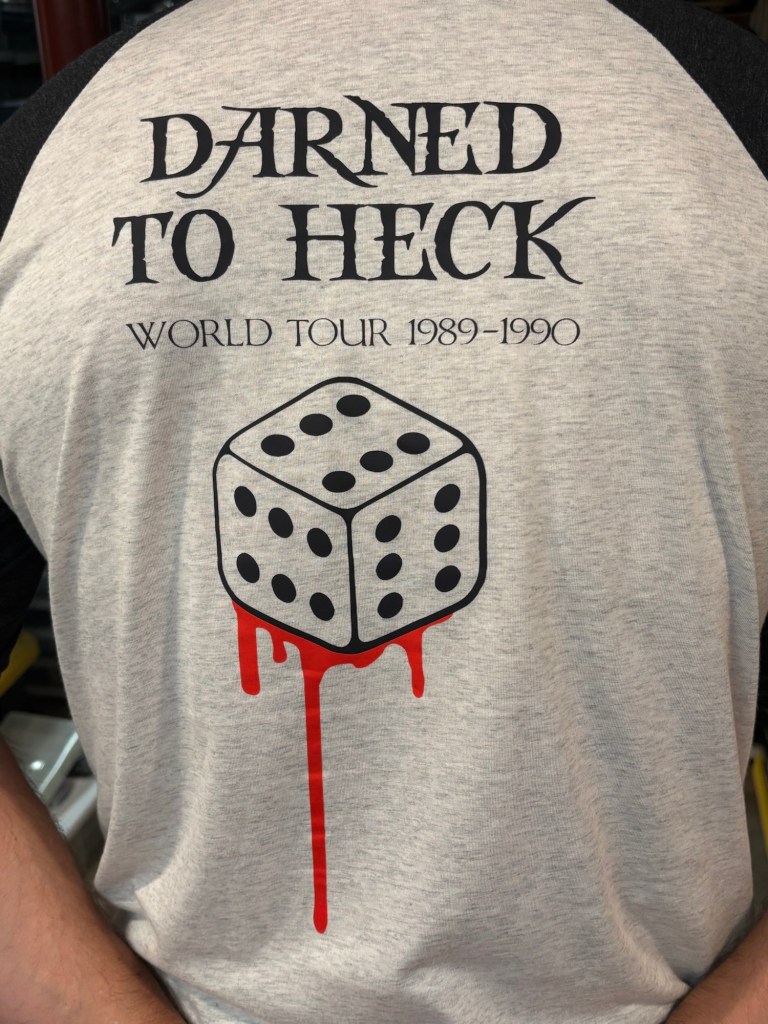
With that the game was over! It was bloody and as PygmyHippo’s shirt said it was “darned to heck”!
But just who won? On casulties alone the game ended Chaos and Orks 18, Allies 17. We ended up having a discussion about who controlled the distillery. We had been playing control of the distillery throughout the game based on the Uluru rules which in the take and hold style missions meant each 25mm based figure counted as one point and each base bigger than 25mm counted for two figures. In that case the Allies easily controlled the objective. Reading the Take and Hold card however things were more difficult to figure out. The Take and Hold card states you control the objective if you are within 6″ of the objective and no one is closer. Since we both ended up with units on the objective technically no one was closer. Normally both players would have different take and hold objectives but even still this one was difficult to rectify. I was trending towards giving the Allies the objective but was disappointed as we (I) had failed to read the objective earlier and make a clear ruling. I felt better when I remembered the distillery was a building so the Ork buggy wouldn’t have been able to get inside the building anyway, and since I’m writing the blog I’m comfortable giving the points to the Allies.
So, that was a long winded way of saying Allies 22, Orks 18!
As always no game of 2nd Edition is complete without odd questions with no answers. For example the Wraithguard have to retreat to the edge of the board if all living Eldar die. When the Swooping Hawks were killed in Turn 5 we were left wondering what happened to the Wraithguard. As a group we decided they weren’t destroyed and so they didn’t count for any Victory Points. I’m sure there were plenty of other things but if I remembered them all what would we be surprised about next game?
Another thing I re-realized is my disdain for the Victory Point system. Even using Dark Millennium the rules feel a little wonky. For example the Allies got no points for the Mek’s with the Shokk attack guns because they were less than 50 points, and their ammo doesn’t count for their point value. Most of the Ork units were a point or two short of the next level up, while in most cases the Allied units were just over the break point. I guess this is part of list building (which I hate) but I much prefer later editions that made each point destroyed a victory point. I’d love to go to this system but I’m pretty sure PygymHippo enjoys this type of granularity. Maybe I’ll start building Leman Russ tanks without sponson weapons to get from 205 points down to less than 200 points….
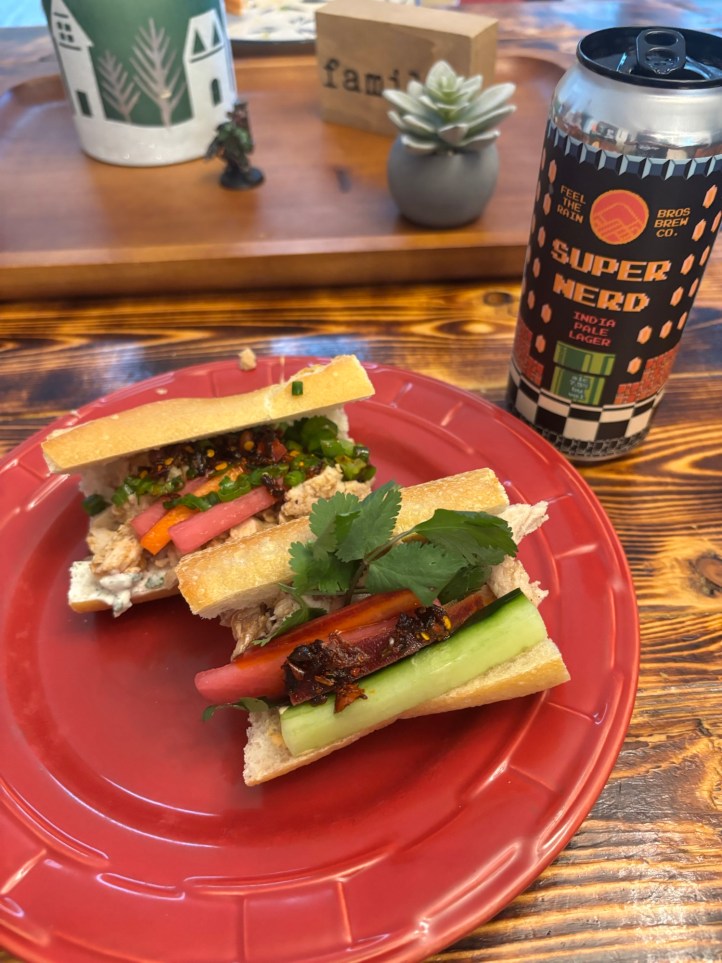
This was a terrific game and while I showed off Jon’s famous Bánh mì in the game night post for the night we played this I figure it was worth showing off again. Besides, it led to one of the best game night quotes of all time as we were discussing the best way to assemble the sandwich: It’s a “Bánh mì not a Bánh you!”
-Wachtmeister
