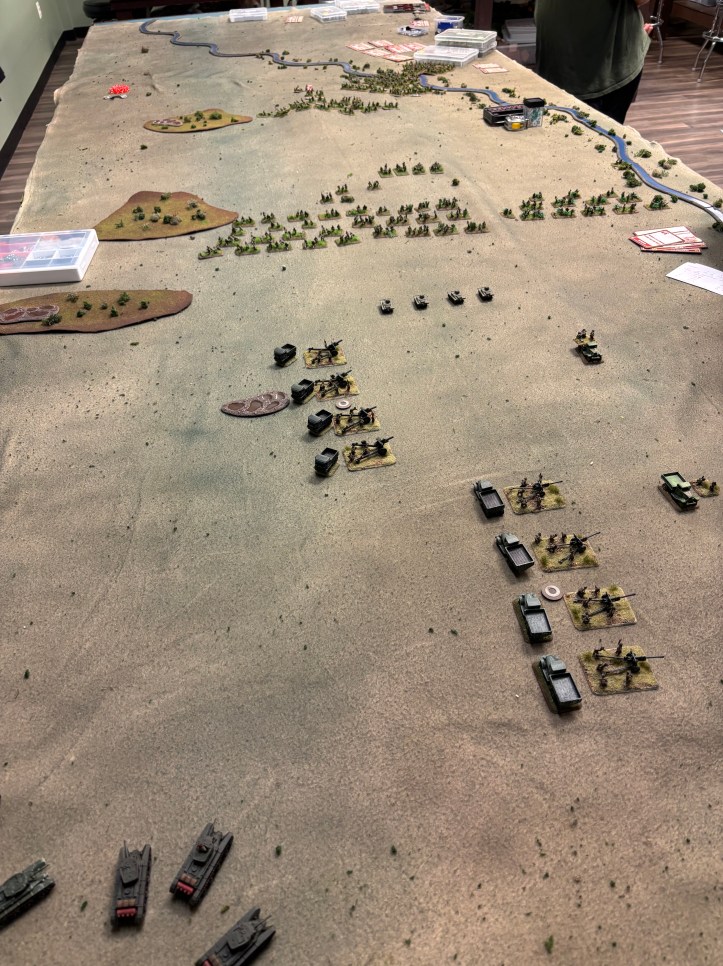
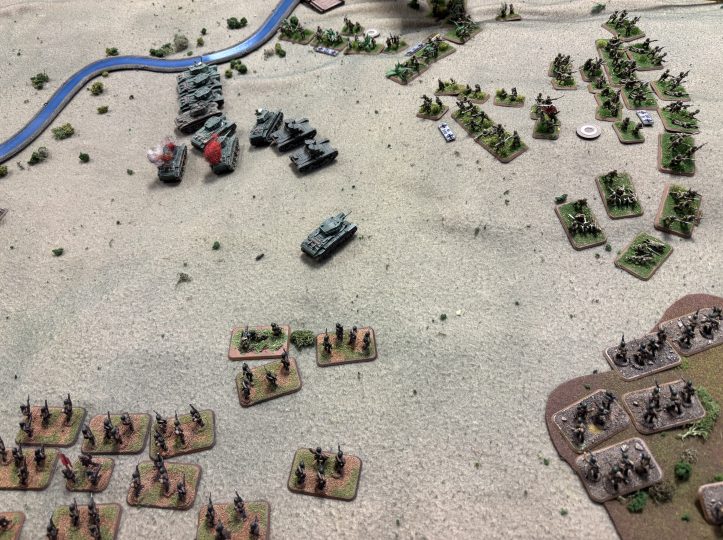
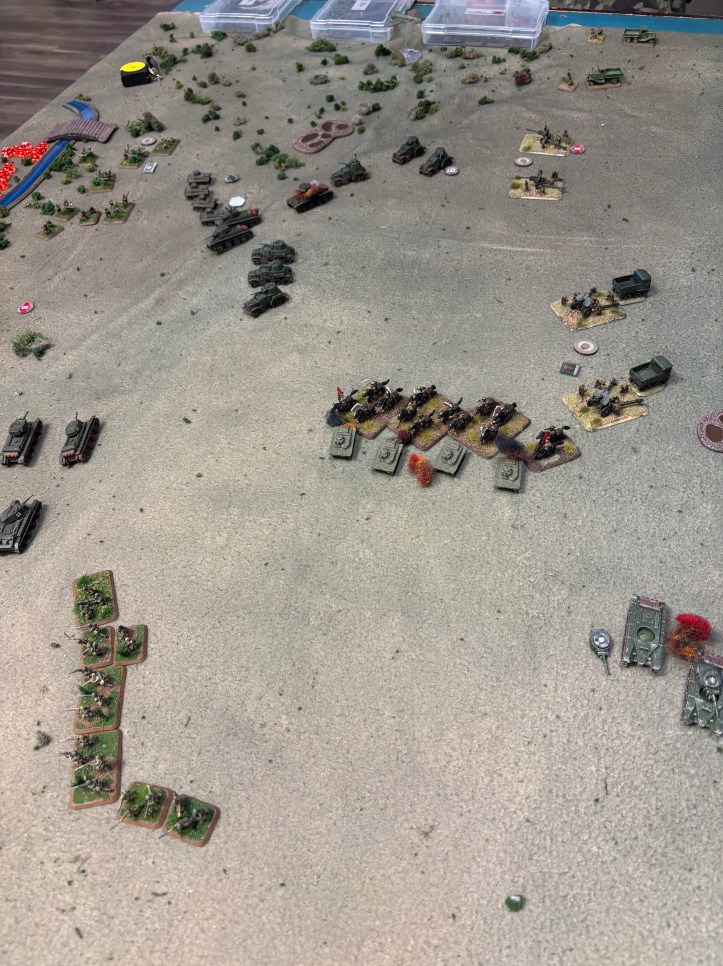
My group recently played a massive game of Flames Of War pitting the forces of Japan against the Soviet Union in one of the Battles of Khalkhin Gol in 1939. Both the Japanese and the Soviets had offensive and defensive objectives. The Japanese had waves of infantry and off board artillery, but no armor, while the Soviets had hordes of the all powerful BT-5 but no infantry. The Soviet guns were firing off board and due to fog during the day of battle were unable to see the advancing Japanese until either turn three, or they started to take ground based fire. The Soviet armor would come on at specific turns later in the game, with an initial option to deploy between the two marshy areas on the left side of the picture. If they opted to stay off board the could race up the side of the table and come in an additional 12″ per turn towards the top of the table.
The Japanese troops needed to destroy the two artillery batteries and take a bridge on the Soviet side of the board. (Off camera, opposite the bottom artillery battery. They also needed to defend the slight rise the occupied (next to the top marsh in the center of the table) and the bridge at the top of the table. Conversely, the Soviets needed to take the hill, capture the Japanese bridge, hold their bridge and ensure there were no Japanese troops in their area of control. Phew, this was a tall order, let’s see who was able to do what!
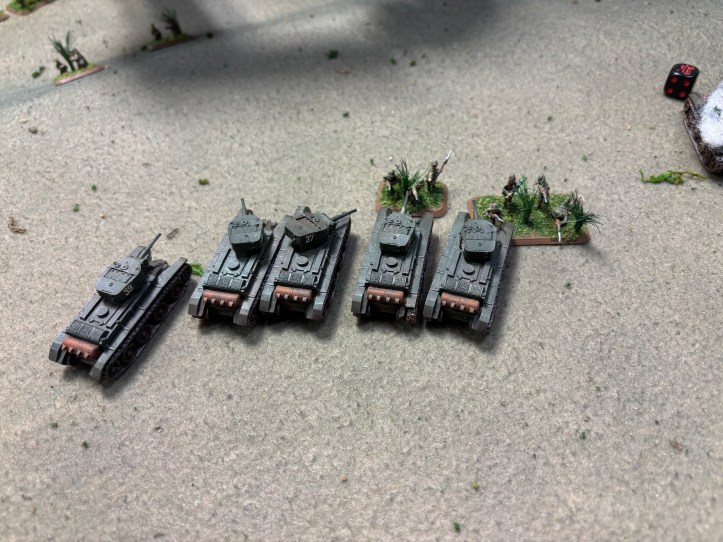
I brought my son, and a handful of BT-5’s and BT-7’s masquerading as BT-5’s so I got to push the Soviets with a third player.
The JAAF took first blood by knocking out a Soviet artillery piece.

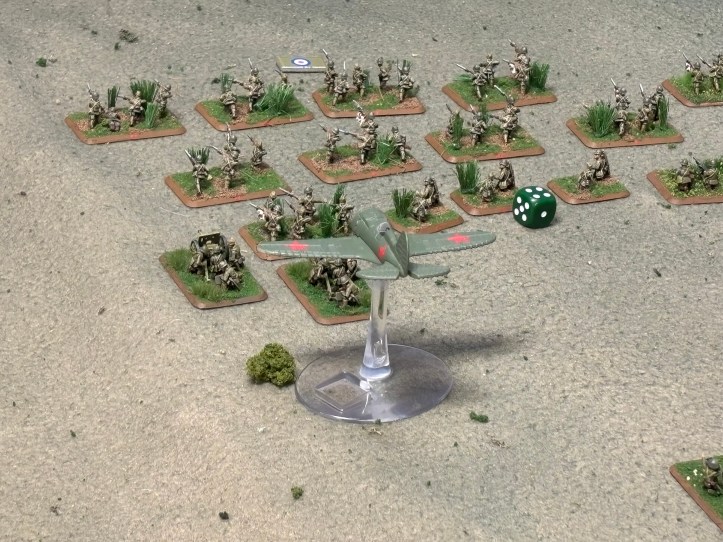
Not to be outdone the Red Air Force targeted the advancing infantry causing havoc and killing multiple stands! The skies must have got real cloudy after this because planes were rarely seen in the sky after turn 1!
Japanese artillery took out the scout tanks which had been causing problems for the advancing infantry, while the cavalry thundered on to the field to blunt the Imperial assault!
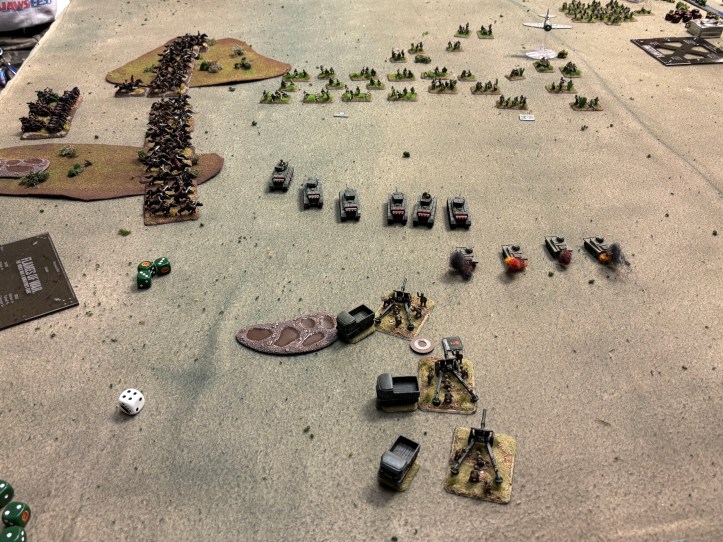
The BT-5’s took their sweet time rolling up the field to flank the Japanese positions.
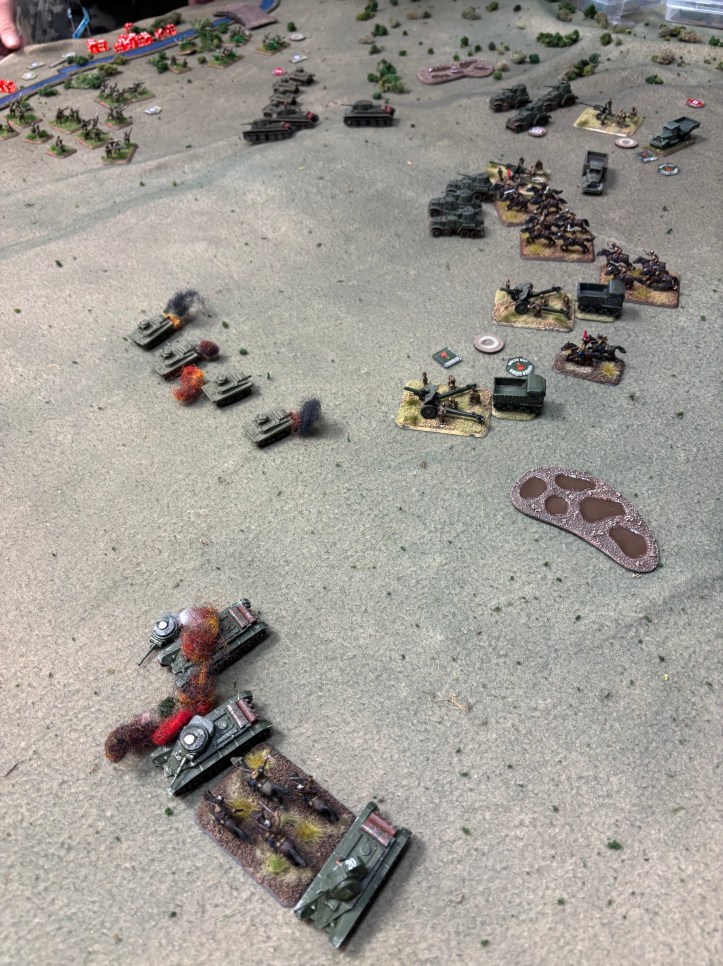
Artillery fire continued to take it’s toll on the Soviet armor! (The GM read somewhere that the BT-7’s at this time were susceptible to overheating or some such and so reduced their top armor to 0. In return he increased their assault from a 5+ to hit to a 4+ to hit.)
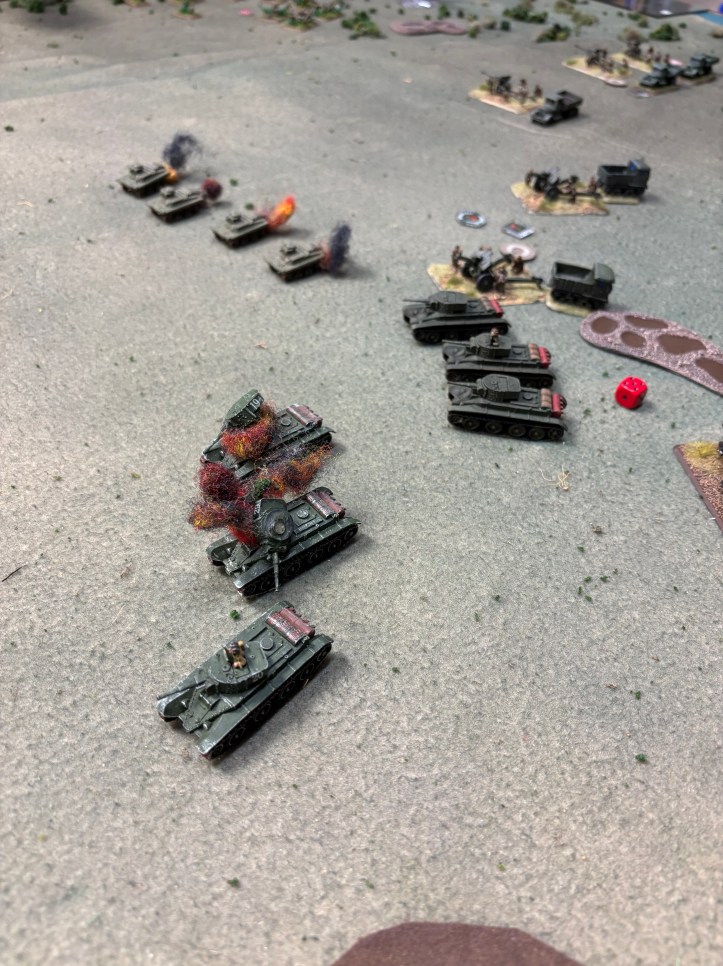
The Soviet infantry moves on to the board where it proceeded to get shot up but infantry and artillery and spent the game hiding in the marsh. The BT-7’s controlled by my son rolled on, he split 5 to support the infantry and 5 to go help relieve the Soviets defending their side of the battlefield.
More infantry and BT-7’s come on board and advance to take the bridgehead.
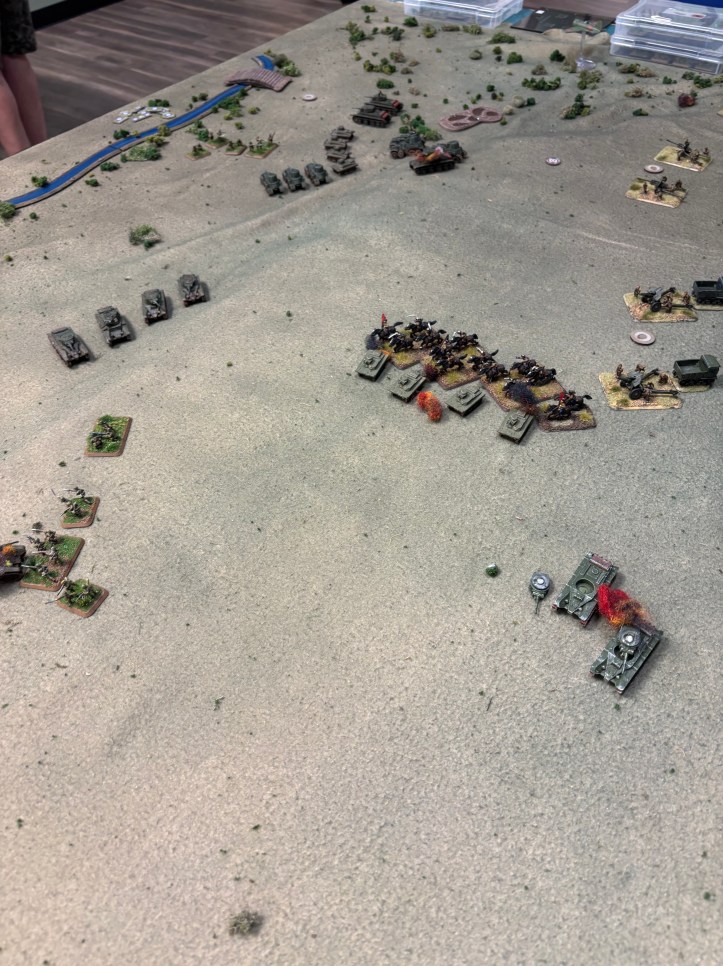
Things are beginning to look dire for the defending Soviets! The Cossack’s took serious casualties from their attempt to assault the Japanese and were thrown back due to hits.

The Japanese launch an attack on the BT-7’s (these BT-7’s are mine!) They knew a few of them would die but due to their rules they knew the assault would go through, and being able to turn three stands into troops with a high assault value the Japanese player thought it was worth the risk.
Until something insane like 18 of 20 defensive fire shots hit home killing all but two stands which were promptly killed by the tanks!
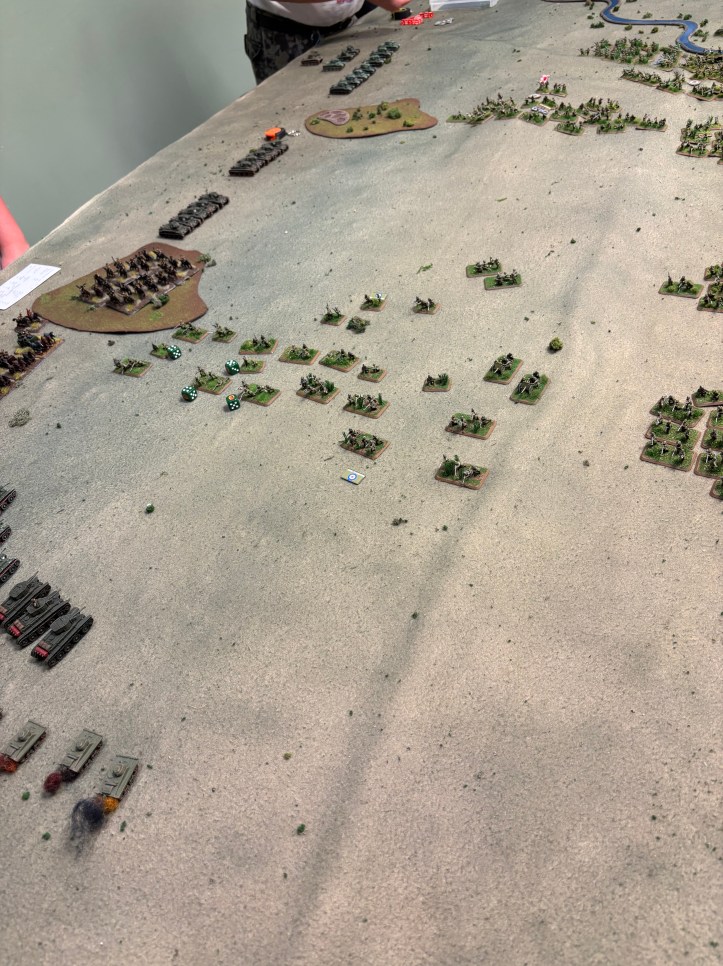
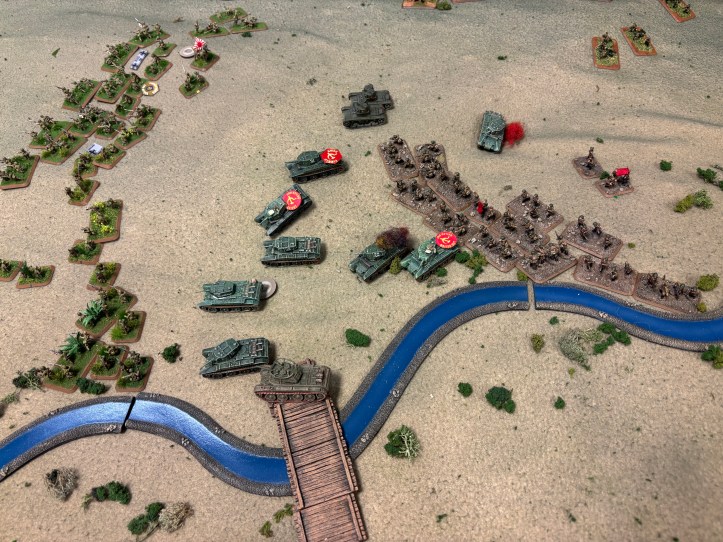
Meanwhile the BT-7’s along with the OT-26’s (represented by T-26A’s) assaulted one of the squads guarding the approach to the bridge effectively destroying it. Still, there were a lot of troops in between the tankers and their objective, would they make it in time?

The infantry started to move up to engage in a duel with the dug in Japanese on the hill.
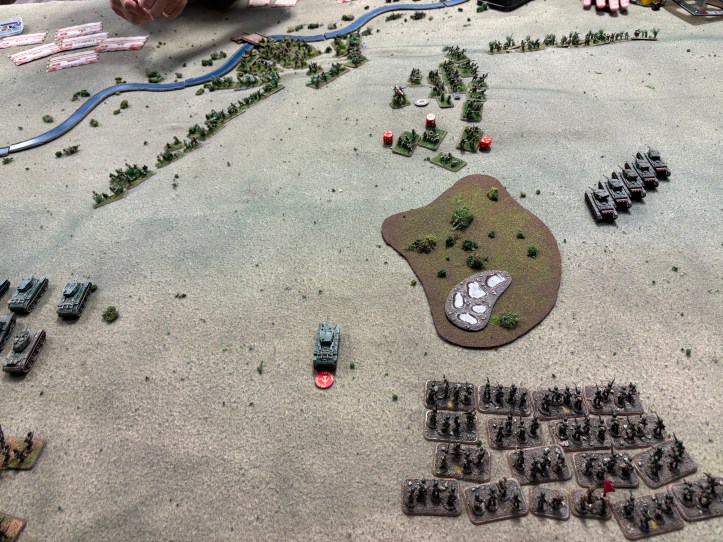
The BA-10’s slowly trundle on the field to support the BT-7’s. Will they get to the bridge in time to take it back?
The battle at the bridge continues.
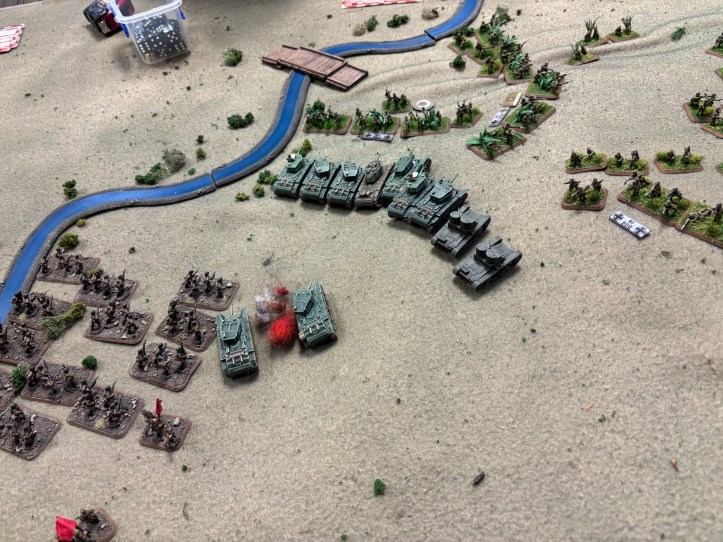
The BT-7’s that split off towards the bridge bypassed the Japanese direct fire guns. Normally exposing the rear would be a bad idea but when they are a Armor 0 all around it doesn’t really matter!

The BT-7’s took some heavy casualties in their final turn but where able to push the Japanese back off the bridge. The next question to be asked was it enough? Let’s go check out the other side of the action!
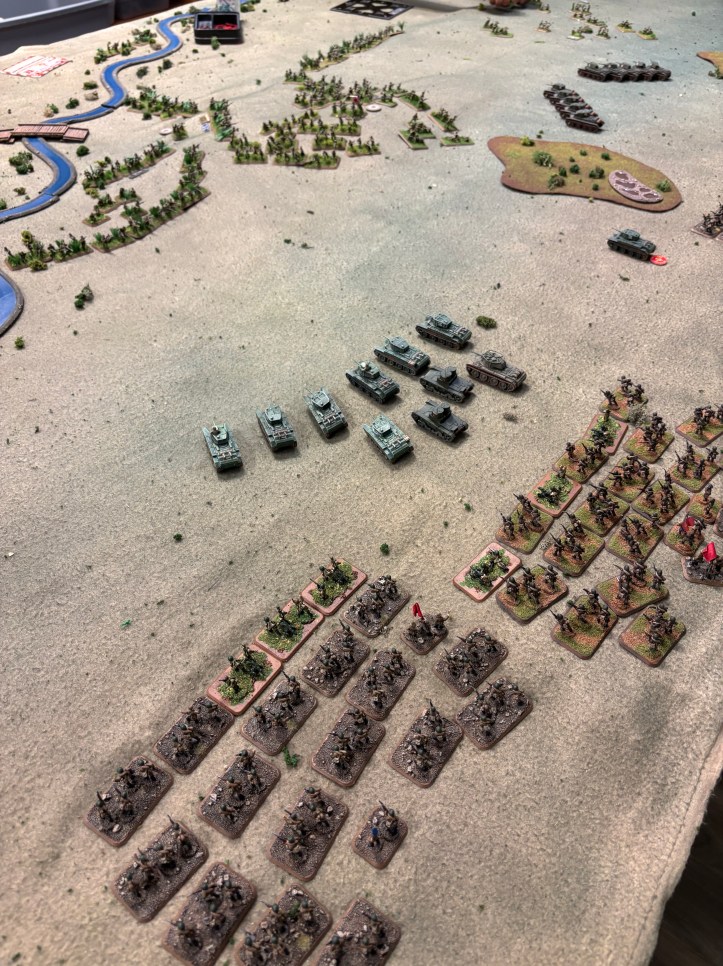
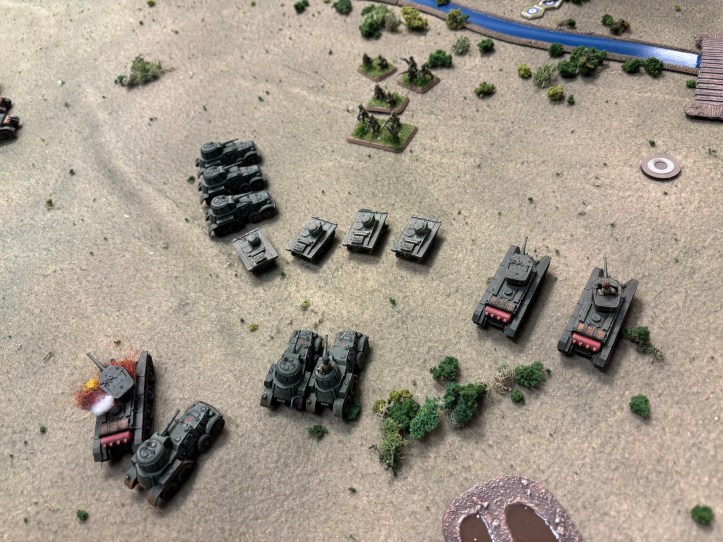
On the Soviet side of the battle field the BT-7 company that came on the middle of the board took a loss from a Soviet anti-tank gun but they managed to kill the gun section before moving in to destroy the stranded infantry in the middle of the board.
The two remaining BT-7’s, the BA-10’s, and the light tankettes were able to finish off the squad of infantry that took the Soviet bridge, and with that it was a Soviet victory!
This game was a lot of fun and with a 12 turn limit it could have been anyone’s game. Both sides really needed to hustle, this was not a game to sit around and wait! The BT-7’s had one turn in which the defenders were able to stop the assault with defensive fire, destroying one tank with rifle fire and bailing another. This one turn almost saved them the game as it took some serious counter luck in the following turn to make up for the lost turn of combat.
We had some debate in the after action phase if we should have pushed all 10 BT-7’s that came on in the center towards the Japanese on the hill. Considering they helped mop up the Japanese troops on the Soviet side of the table I think it ended up being the right call. The glorious choice would have been to go after the troops on the hill but had we not taken it or the bridgehead, which ended up being a close run thing, we would have had a minor defeat due to the troops ending up on our side of the table.
Oh, and after constantly remanding myself to not call the Russians the Soviets in my ESR battle report it was nice to get back to a period I’m used to!
-Wachtmesiter
